- Webinar Oct 26: Effortless AI Literature
- Research Gap Strategies & Tools
- Effortless AI
- Effortless Note Taking
- Effortless Literature Review
- Effortless Knowledge Management
- Free 8-day note-taking course

Mastering Google Docs for Writing Academic Papers
- by Ilya Shabanov
- August 28, 2024 August 31, 2024
- Academic Writing
Google Docs is the most powerful, versatile and fast word editor, but publishing a scientific paper with its formatting and citing requirements, tables, and figures requires plugins and a good strategy. In this tutorial, you will learn all the plugins and hacks you need to make Google Docs the perfect tool for writing a paper with co-authors.
Join the Effortless Newsletter. Receive free tips on note-taking, literature review, AI tools, and other productivity topics specifically tailored for academics and students.
Say goodbye to emailing endless Word documents with yet another “final” in their title and switch to Google Docs. It’s clean, powerful and easy to use. Here are the main problems we want to solve:
- Structure your paper and keep track of progress for each section individually
- Configure Google Docs to find sections faster (with one click) and scroll easier.
- Setup a system to automatically number figures, tables and equations.
- Add a system of links to refer to figures tables and links that auto updates when the order changes.
- Incorporate figure numbers from supplementary materials (separate document)
- Use add-ons for reference management and finding typos
- Make your documents beautiful and professional.
- Learn to save versions of the document before making journal-specific changes without creating a copy.
- Using Google Docs for collaborative writing.
Before you begin it is best to have your literature and notes ready, this will greatly speed up the process. Check out the Literature Review and Note Taking Courses for more info.
Setting up your Document
To begin writing create two documents one for the main text and one for the supplementary materials. Always use Heading 1 for the main chapters of your document, such as Introduction, Methods, Results, and Headings 2, 3, and 4 as needed.
Choose a font size that is good to work with and also looks good when exporting. As a web designer in my previous life I know that picking the right fonts and sizes is more than just about the design, it is about the perception of your paper. A paper without typos and set in beautiful fonts emanates professionalism and completion. This will help your ideas to be perceived in a good light and taken more seriously. So spend a few minutes on adjusting fonts (Open Sans is often a great choice), line height (1.5x – 2x is optimal) and padding. This X thread has more informaiton.
Draft Versions: The key to structure
One of the biggest challenges in writing a paper is keeping track of what part of the document needs, what works, and from whom. I found that drop-downs are the perfect solution for this as they allow to annotate at which state a paragraph is in, e.g. “first draft”, “waiting for feedback”, “completed”. The best solution is to use a numbering system: version 1,2,3… Whenever significant changes are made to a paragraph, you increase the version. Before publishing, all paragraphs must be at the highest level to ensure you went through all parts of the document and everything is in harmony.

The options selectable in a drop-down menu can be added and removed by clicking the “add/edit options button,” and you can create any structure you need to organize yourself. Essentially, this is similar to a Kanban board, where each “task” is in a “column” indicating its current progress. Here, the tasks are paragraphs, and the column is the value of the drop-down menu.
Here is how to edit and work with dropdowns:
Combined with the folding of headings, you can get a perfect overview of the entire paper, as shown in the video.
Folding, Table of Contents and Pageless Mode for Navigation
Another issue is often the size of the document. If you are looking for a specific passage, you end up scrolling, which takes up too much time and disturbs your focus. My solution to this is twofold:
- Turn on pageless mode, which cuts the length of the document by at least 50%.
- Collapse or fold the parts of the paper you are not working on
- Use the table of contents menu to reach any heading in one click.
These three methods combined make your navigation inside the document effortless and, most importantly, pleasant.
Using Pageless Format
Go to Format > Switch to Pageless Format to turn on this feature. In the video below, you can observe how I scroll through the document at twice the speed I did after switching to the pageless format.
If you want things to go even faster, you can set the width of the text to fit more text onto the screen. However, you will need to export your Google document to a Word or PDF with pages before submission, and you, therefore, need to keep the size of the figures and tables to the width of a single page or resize all your figures and tables later (this is a total pain, don’t do this). Notice in the screenshot below that I limited the size of the diagram to be narrow, even though the text is very wide. If I had not done it and just exported it to a Word document, all my figures would not fit onto the pages, and the document would have been broken.

The pageless format is much more comfortable and fast to work with. To avoid any problems later on, make a first mini-draft of your paper and try to export it to docx or pdf. Ensure everything looks fine, as the export might look slightly different after turning on the pageless format.
Collapsing or Folding Headings
Consistently use hierarchic headings in your document. This allows you to collapse/hide/fold everything below a heading up to the next one and hide the parts of the document that are irrelevant, finished or unimportant. Here is how folding works:
Headings are numbered. Heading 1 is the largest, 2 is a subheading, 3 is a sub-subheading and so on. This is equivalent to a typical hierarchic numbering of “Chapter 1” (→ Heading 1), “Chapter 1.1, 1.2, 1.3 …” (→ Heading 2) and so on. Reserve Heading 1 for the main structure of your paper like the typical “Introduction, Methods, Results and Discussion” and use sub headings as you see fit. Folding a bigger heading will hide all subheadings as well.
Using the Table of Contents
Another benefit of consistently using headings is the automated table of contents that Google Docs generates for you. Click the button at the top left to show it. If you do not see the button, you must first activate this feature by going to View > Show Outline . Here is how it looks.
Table of Contents allows you to navigate different parts of the document with one click. Unfortunately, there is currently no way to number your headings automatically. The chapter numbers you see in the video are manually typed in. Start by outlining the structure of your paper first to avoid frequently changing or adding numbers to your headings.
Extending Google Docs’ Academic Capabilities with Add-Ons
Google Docs lacks a few features right out of the box. Most importantly for academics, this is the automatic numbering of figures and management of references. Two extensions will take care of this: “Cross Reference” and “Paperpile”. Paperpile is a reference manager and, in my opinion, the best one if you are going to use Google Docs. Zotero is an alternative, but it is quite slow, and the references are not rendered as links, which makes it harder to spot them.
To install an Add-on or Extension, click “ Extensions → Add-ons → Get add-ons “. Here is how it looks:
There are dozens of add-ons available, but most are not very relevant to academics. Let’s explore the two main add-ons we will need: Cross Reference and Paperpile.
Automatically Numbering Figures, Tables and Equations in Google Docs
Figures in the result shift around quite a lot, and renaming your figure numbers if they change their order is incredibly inconvenient. Instead you can use “Cross Reference” a Google Doc Extension that will do the numbering for you. Here is what it does:
Notice that the references to figures 1 and 2 in the text and their subtitles are automatically updated when I change the order of the two figures. Once you have six figures, this can save you time and avoid mistakes.
Step 1: Install the Cross Reference add-on
Install the add-on by opening “ Extensions → Add-ons → Get add-ons “. Then search for “Cross Reference”. Hit the blue install button at the top right.

Once you have installed the add-on, open “ Extensions → Cross Reference → Configure References “.
Step 2: Understanding how Cross Reference Numbers Figures
For Cross Reference to work properly, you will create links in a specific format inside your document. Once you hit the update button, Cross Reference recognizes these links, generates the automatic numbering and inserts these numbers into the link text. A link, strictly speaking, consists of the text and the address. The text is arbitrary, and the address defines where the link leads to but is not visible to the user. Cross Reference links all have the format #{code}_{name}. The code identifies one of two types of links: Labels (in the title of your figure) and References (inside the main text). The name is a unique name you will use for your figure; it stays the same even if you move the figure itself. Here is an overview:

Let’s sum up the steps you need to do:
- First, open Cross Reference and select “Figure” at the top to determine which codes to use. The default codes are #figur for the label and #fig for references. These codes are not arbitrary, and you must use the ones displayed under Code in the Cross Reference sidebar.
- Create a unique and simple name for your figure, e.g. “errors” in my case. This gives you the links to use #figur_errors for the label and #fig_errors for the references, respectively.
- Under the figure, create a caption starting with “Figure….” Select “Figure,” right-click to create a link (or use the CMD/Ctrl + K hotkey), and type in “#figur_errors.”
- In the text where you want to refer to this figure, also type in “Figure A,” for example, and link the word “Figure” to “#fig_errors.”
- Go to Extensions → Cross Reference → Update Document . This will take a few seconds, but the links to “Figure” will be replaced with the correct numbers.
The name “errors” in our case remains constant and is required so that Cross Reference knows which links belong together. The two types of links, Reference (#fig) and Label (#figur), are necessary since the order of labels defines the number of figures, while the order of references is irrelevant. Here is a demo video for the whole process (steps 2-5):
Once you understand how it works, the process becomes quite simple, even though it is not intuitive.
Step 2: Using Cross Reference for Tables or Equations
Once you understand how cross-reference works (it uses links with a specific code to figure out which numbers to assign to each one and changes the text in your document according to your naming and styling convention), you can guess that this method is applicable not only to figures but to any type of numbered content. Tables usually follow a separate order from figures and need their own code. The default codes are #table for the label and #tab for the references.

The same works for equations; you can create your own types by specifying the code. This last step is what we can use for supplementary material tables often abbreviated with an S (e.g. Fig S1 ).
Step 3: Automatically Numbering Supplementary Material Figures and Tables
Normally your supplementary materials reside in a separate document, while you can use Cross Reference in this document as well you will not be able to access it in your main document. If, like me, your supplementary materials grow into a second paper, any changes to it will force you to do extensive renumbering in the main document. Luckily, there is a trick to help with this.
Creating a Supplementary Figure Type
First you will need to create a new type in cross reference and call it “supplementary figure” for example. You can define a new code #supfi, for example, and set it up so that your figures automatically get an “S” added (e.g. Fig S2). The new type is necessary to differentiate between your main and supplementary figures. Here is how to do it:
You must do this step in both the supplementary materials document and your main document.
Adding a List of Supplementary Figures to the Bottom of Your Main Document
To get the numbering from your supplementary material into your main document, you will do a small hack: We will add the supplementary figure titles and links to the main document without copying the figures themselves. It is just a list of figures. Cross Reference will then think these supplementary figures are inside the main document while only the titles are included. I usually add this block to the bottom of my main document:

Notice that all the names are links, and the naming code is “#sfigu”. The order is the same as in the supplementary materials document. If I reorder my supplementary materials document, I must manually reorder this list. While this is done manually it only takes a moment to reorder these 10 lines, all links to these supplementary figures are done automatically (and there are dozens of them in my main document)! Right before publishing, you need to delete this block from your main document.
Adding Reference Managers to Google Docs
To manage references, you have a choice of reference managers. Most support Google Docs (except Mendeley does not), and some are easier to use than others. My choice is Paperpile. To use it properly, you need to install:
- Paperpile Google Doc Add-on
- Paperpile Browser Plugin
Using both together makes Paperpile the fastest citation manager and, in my opinion, more than makes up for a small 3$/mo price. Here is how the browser extension works:
Note that references end up as links in the document, making them easier to spot and edit. Paperpile does not create a bibliography when you add a reference. Instead, this is done manually before publication. Go to Extensions > Paperpile > Manage Citations to open a sidebar and hit the red button “Update Citations and Bibliography”. This will do two things:
- It will add a bibliography to the bottom of the document
- It will change the blue in-text references to the correct way of citing according to your document (which can be numbers [1] or names (Smith et al. 2020)). The citation style is set right above the red button.

You can also click the same red button again to remove the bibliography and transform the references back to the original paper pile links.
Using Grammarly for Corrections
Save yourself a lot of energy by installing the Grammarly Extension to correct your writing and typos, especially if English is not your first language. If you want a more academic writing assistant check out my tutorial on using Paperpal, which however does not support Google Docs yet. Here is what such a correction looks like (The text has already been edited with Grammarly, so there are only a few insignificant corrections here):

You will need to install the Chrome extension for the best results. The desktop version works well on a Mac, too, but it is much slower.
Using AI assistance to Write Papers
Aim at writing your paper yourself to avoid problems with journals. This being said you should use AI to help you polish parts of your writing and get ideas on how to structure your paper. Here is a guide on how to use AI for academic writing . If you want to learn everything about academic AI, check out the Effortless AI course:

Achieve 10x efficiency in research, learning, and everyday tasks with ChatGPT bots. This course takes you from knowing nothing to using the most cutting-edge techniques most people don’t know about in just a few hours.
Research papers with Co-Authors in Google Docs
Google Docs is a collaborative text editor. Unlike Word, you do not need to send copies of your document to all your collaborators. Invite them as editors to your document; everyone can work on it in real-time. I suggest asking them not to make edits but rather comment on your writing (if you are the first author) and let you incorporate their changes.

Click the big “share” button at the top right to add people. You will receive an email notification whenever someone comments on the document. To reduce the number of emails everyone receives, try outsourcing the conversation about the paper to the comments section of the document.
Do not let Co-authors edit your papers early on
Whoever is the first author of a paper should make the first few drafts of it. This ensures that the narrative is consistent and the paper is complete. To achieve this, the co-authors should be commenters instead of editors when sharing.

Asking for feedback early on, however, is useful. So encourage comments from your co-authors.
Suggestion mode for co-authors
Use the suggestion mode when letting co-authors modify the main text. This ensures that all edits are visible, and you can reject or accept these changes. This ensures that one person (you, the first author) always has an overview of the entire paper.

To make changes, you will have to give the co-authors the editor role. Click on share and change their permissions to “Editor”.
Assigning tasks via comments
Instead of sending emails with editing requests or questions, assign a comment with the task to the person(s) who will be dealing with the task. Comment on some passage and write “@” followed by the co-author’s email. You will see a popup when you type @. This gives your co-authors the ability to clear/remove the comment afterwards as well, so you don’t have to deal with it.

Mentioning and assigning someone in this way will send them an email, so you don’t need to mail them with your request explicitly. This keeps things tidy in your and their email inbox.
Critical steps before submitting your paper
If your paper is completed there are only a few more steps to do. Here is my list to ensure a smooth submission:
- Create a named version before making any journal-specific formatting or edits
- Switch back to a paged format and check tables and figures (see section on pageless format )
- Create a bibliography (see section reference managers )
- Enable line numbers
- Close all comments
Automatic Backups with Version History
While you write Google Docs records, every edit allows you to return to this version. This is useful when, for example, your paper gets rejected by a journal, but you already made some changes to your main text specific to this journal. Roll back to the version before the edits, and you will be ready.
Versions are automatically named by date and time, but you can give important versions a clear text name, for example, “Pre-submission to GCB journal”. To do that, click on the three dots next to the version and select “Name this version” (see second 10 in the Video).
Enabling Line Numbers
Almost all peer-reviewed journals will ask you to include line numbers in your document. This is necessary for the reviewers to be able to review the exact locations in your first draft. Google Docs allows you to do this if you export the document as a Word doc (it does not work when exporting to PDF). You must disable pageless format to enable line numbers. After doing this click on “ Tools → Line Numbers “. In the sidebar enable the line numbers.
Sometimes, the line numbers initially do not show up correctly (as in the video, as you might notice), but this resolves itself after you scroll up and down the document once.
Closing all Comments
Do not keep comments in your document; be ready to remove them for clarity and confidence when you publish. Each comment has a little checkmark to remove it permanently.

I tend to remove all comments that are older than a certain date and have not been addressed to keep the overview in the document.
In this tutorial I presented a few methods on how to make Google Docs a great publishing platform for academic work. In summary:
- Use the drop-downs to track the progress of each sub-chapter individually
- Use folding, pageless format and automatic table of contents to find things faster in your document.
- Use a reference manager like Paperpile to deal with references.
- Use the Cross Reference add-on to number your figures, tables and equations automatically
- Create a dummy list of supplementary figures in your main document to number these as well as automatically
- Use the comment function in Google Docs rather than sending versions of the document to co-authors.
- Before making journal-specific edits, save a named version of the document
- Before publishing, enable line numbers, remove comments, and switch back to page format.
Want to learn more on how to use technology to write papers faster and with more confidence? Then check out my note-taking course:
Master a system of connected notes and tools that generate research ideas on auto-pilot. Stay organized in big projects and access everything you ever read in seconds.
I hope these tips will help you in your academic journey.
Research Paper Outline Template
The most daunting part of writing a research paper is staring at a blank page and wondering where to start. A research paper outline helps you structure all the contents of your paper so you can get started, remain organized, and not leave anything out. Typically, writers create an outline before they write their first draft and after they come up with a thesis and find a research source. This article reviews how to use and format a Research Paper Outline Template to help you write a comprehensive research paper.
A research paper outline is a writing tool that highlights all the topics of a research paper in the order in which they will appear in the final document. The topics are divided into paragraphs and accompanied by additional details, such as research sources and subtopics. Essentially, the outline helps the writer organize their paper so that it makes sense and answers the thesis question. It is a more efficient tool for making structural changes than the first draft because it allows you to cut out unnecessary parts before you even write about them and add those that work for your paper.
What Is a Research Paper Outline Template?
A research paper outline template is a precontrived guideline that helps you create an outline for your paper. It is divided into the necessary sections and paragraphs with enough space for you to fill in the contents of your outline. Simply put, it is a document containing the prerequisite outline format that prevents you from writing your outline from scratch.
Are there Different Types of Research Paper Outlines?
Yes. There are several types of research paper outlines, but the following three are the most popular. Your choice of an outline format will depend on the type of paper you are writing, your writing style, the team you are working with, and more. Here is a look at your options:
- Alphanumeric Outline. The alphanumeric outline format is the most popular research paper outline. It uses Roman numerals to list the topics of a paper, capital letters for the subtopics, Arabic numerals for the points in each subtopic, and lowercase letters for subsequent sections. In this format, the information is presented in short phrases, not complete sentences.
- Decimal Outline. The decimal format is the most comprehensive research paper outline and is more common for long papers with technical aspects. It lists items using numbers with increasing decimal points. Usually, the main topics are whole numbers (1, 2, 1.0, 2.0), while the subtopics contain one decimal point (1.1, 2.1). Subsequent sections have more decimal points (1.1.1 2.1.2). Like in the alphanumeric format, the information is written in phrases or blurbs.
- Full-Sentence Outline. As the name suggests, this format presents information in complete sentences instead of short phrases. It provides a clearer way of sharing information and is more common when a group is writing a paper. In every other way, it is similar to the alphanumeric format.

Why Is Research Paper Outline Necessary?
A research paper outline lays out all the aspects of a paper that you need to explore to prove your thesis. It tells you what ideas you need to brainstorm and develop to reach a conclusion. Consequently, an outline helps you organize your thoughts so you can create the proper research protocols and achieve the intended results of your paper. It connects all your ideas to create a flow of information. This then creates a smooth transition from one point to the next, ensuring you do not leave anything out. Moreover, it helps the reader navigate and understand your research.
Essential Elements of a Research Paper Outline Template
The assignment requirements for your research paper will usually determine its content. However, research paper outlines are organized in the IMRAD format, which means they begin with an introduction followed by Methods, Results, and Discussion. These sections should be preceded by a title page and an abstract, which is a summary of the entire paper. The other sections are:
- Introduction: This brief background statement sets up the paper’s hypothesis and the research’s approach and context. It should contain the problem statement.
- Methods: Also called Experiments or Materials and Methods, this section outlines all the research methods used to write the paper.
- Results: The results part of the outline usually contains statistics and tables that summarize the findings of the research.
- Discussion: Here, the writer puts the research into perspective and supports their hypothesis in one or two paragraphs elaborating how their findings fit in the grand scheme of things.
- Acknowledgments: This is where you mention all the people or sources that helped you write your research paper.
Things to Consider When Outlining a Research Paper
What you include in your research paper outline and how you write it will ultimately depend on several factors. The type of paper you are writing can influence which format you choose. For instance, an outline for every paragraph makes sense if you are writing a formal research paper but might be excessive for a college paper. Here are some factors to consider when outlining your paper:
- The Assignment. What is the assignment? How complex is it? How long should it be? Before you start outlining your paper, you should consider what it requires. A simple research paper will do with a simple outline, while a more advanced thesis may require something more complex, such as the decimal outline format.
- Thesis and Sources. Speaking of the thesis, you should always choose one and find evidential sources for it before creating an outline. The thesis of your paper is basically what the paper is about. You should collect enough data to determine what your paper should say.
- The Topics. Next, you should review your research material and create topics, subtopics, and supporting points that relate to your thesis. Make sure every section is directly related to the thesis and is not tangential.
- The Structure and Sequence. Finally, consider how you want the topics to follow each other. You need to find a sequence that allows you to present your argument and the reader to understand it. If a reader is unfamiliar with a topic, what do they need to know before they move on to the next section?
Final Thoughts
Writing a research paper outline can seem like extra and unnecessary work, but it can save you a lot of time in the long run. The document breaks down all your ideas in their intended order, allowing you to organize your paper properly. But if writing one from scratch seems like a hassle, and it can be, you can always use a Research Paper Outline Template as a guide.
How did our templates helped you today?
Opps what went wrong, related posts.

24 FREE Story Outline Templates and Examples (Novel, Book, Plot)

Basic Speech Outline

Biography Outline Templates & Examples

Outline Template for Essay – Word, PDF

Literature Review Outline Templates (in Word & PDF)

12+ Body Outline Templates

Novel Outline Template

Autobiography Outline Template
Thank you for your feedback.

🚀 Work With Us
Private Coaching
Language Editing
Qualitative Coding
✨ Free Resources
Templates & Tools
Short Courses
Articles & Videos
Free Download
Research Paper Template
The fastest (and smartest) way to craft a research paper that showcases your project and earns you marks.
Available in Google Doc, Word & PDF format 4.9 star rating, 5000 + downloads

Step-by-step instructions
Tried & tested academic format
Fill-in-the-blanks simplicity
Pro tips, tricks and resources

What It Covers
This template’s structure is based on the tried and trusted best-practice format for academic research papers. Its structure reflects the overall research process, ensuring your paper has a smooth, logical flow from chapter to chapter. Here’s what’s included:
- The title page/cover page
- Abstract (or executive summary)
- Section 1: Introduction
- Section 2: Literature review
- Section 3: Methodology
- Section 4: Findings /results
- Section 5: Discussion
- Section 6: Conclusion
- Reference list
Each section is explained in plain, straightforward language , followed by an overview of the key elements that you need to cover within each section.
You can download a fully editable MS Word File (DOCX format), copy it to your Google Drive or paste the content to any other word processor.
download your copy
100% Free to use. Instant access.
I agree to receive the free template and other useful resources.
Download Now (Instant Access)

FAQs: Research Paper Template
What format is the template (doc, pdf, ppt, etc.).
The research paper template is provided as a Google Doc. You can download it in MS Word format or make a copy to your Google Drive. You’re also welcome to convert it to whatever format works best for you, such as LaTeX or PDF.
What types of research papers can this template be used for?
The template follows the standard best-practice structure for formal academic research papers, so it is suitable for the vast majority of degrees, particularly those within the sciences.
Some universities may have some additional requirements, but these are typically minor, with the core structure remaining the same. Therefore, it’s always a good idea to double-check your university’s requirements before you finalise your structure.
Is this template for an undergrad, Masters or PhD-level research paper?
This template can be used for a research paper at any level of study. It may be slight overkill for an undergraduate-level study, but it certainly won’t be missing anything.
How long should my research paper be?
This depends entirely on your university’s specific requirements, so it’s best to check with them. We include generic word count ranges for each section within the template, but these are purely indicative.
What about the research proposal?
If you’re still working on your research proposal, we’ve got a template for that here .
We’ve also got loads of proposal-related guides and videos over on the Grad Coach blog .
How do I write a literature review?
We have a wealth of free resources on the Grad Coach Blog that unpack how to write a literature review from scratch. You can check out the literature review section of the blog here.
How do I create a research methodology?
We have a wealth of free resources on the Grad Coach Blog that unpack research methodology, both qualitative and quantitative. You can check out the methodology section of the blog here.
Can I share this research paper template with my friends/colleagues?
Yes, you’re welcome to share this template. If you want to post about it on your blog or social media, all we ask is that you reference this page as your source.
Can Grad Coach help me with my research paper?
Within the template, you’ll find plain-language explanations of each section, which should give you a fair amount of guidance. However, you’re also welcome to consider our private coaching services .
Additional Resources
If you’re working on a research paper or report, be sure to also check these resources out…
1-On-1 Private Coaching
The Grad Coach Resource Center
The Grad Coach YouTube Channel
The Grad Coach Podcast

RSC 507: Scholarly Writing: Google Docs
- Library Catalog
- Tips for GALILEO
- Check for Full Text
- Citation Help
- Microsoft Word
- Word - Basic Formatting
- Google Docs
- Google - Basic Formatting
- TU Writing Resources
- APA Sample Paper
- APA Citations
- APA References
- Book with Editor(s)
- Chapters and Parts of Books
- Company Reports
- Journal Article
- Magazine Article
- Patents & Laws
- Unpublished Manuscripts/Informal Publications (i.e. course packets and dissertations)
- Installing Zotero
- Gathering Citations with Zotero
- Word Processing with Zotero
- Troubleshooting

- Check out the Basic Formatting page for quick, easy instructions on how to format your paper using Google Docs.
If you don't already have a Google account set up, click this link to create a free account. With a Google account you can access the professional suite for Google Docs, Sheets, Presentations, and more. You can also create and customize Gmail, YouTube, and Google Maps profiles and store your personalizations. Google is free to sign up with and you can access your documents from any public computer you log into, including the computers in the Library computer labs. Just make sure you always sign off when you're finished! Otherwise your personal information can be accessed by anyone.

For more help using and formatting Google Docs, check out this Essential Training and other helpful tutorial courses available on Linkedin Learning.
Linkedin Learning is a professional social network that has recently expanded to maintain and develop a wide variety of video tutorials and online courses to foster continued learning for business, higher education, and government professions. Their tutorials and courses on digital technologies and software are particularly informative in this ever growing Digital Age. To access full content on Linkedin Learning sign up for an account.

- << Previous: Word - Basic Formatting
- Next: Google - Basic Formatting >>
- Last Updated: Aug 13, 2024 8:11 PM
- URL: https://libguides.thomasu.edu/rsc507

Research Paper Formatting Tips & Tricks
- Formatting Basics -- Word
Formatting Basics -- Google Docs
- Set Default Formatting in Word & Google Docs
- Setting the Font
- Setting the Margins
- Setting up Double Spacing
- Set Page Numbers
- Setting Hanging Indent
From your Google Doc page, 1) click on the font type icon and 2) select your font type from the drop down list. For both MLA and APA you will select Times New Roman.

Next, you need to set the font size to 12 for both MLA and APA. 1) Click on the font size icon and 2) select 12.

From your Google Doc, 1) click on File from the menu and 2) select Page Setup from the drop down menu.

Next you can set the margins as you need them to be and click OK. MLA and APA both use 1 inch margins all around which is the Google Docs default.

From your Google Doc, 1) click on the Line Spacing icon (looks like lines with an arrow up and down) and 2) select Double from the drop down menu.

From your Google Doc, 1) click on Format from the menu, 2) put your cursor on Line Spacing and 3) select Double from the pop out menu.

From your Google Doc
1) click on the Insert menu
2) move your cursor to the Header & page number selection
3) move your cursor to the Page number selection and select the page number setup you want (usually the page number top right as show in the image below)

Create a Hanging Indent Using Google Docs
- After you have typed and centered Works Cited at the top of the page, press the Enter key.

- Select Hanging from the Special Indent dropdown menu

- Start typing your citation. When you reach the end of the link the program will indent the second line automatically. When you finish your citation and press the Enter key, the program will start the next citation at your left margin. Keep entering your citations in alphabetical order by first element and you're done!
- << Previous: Formatting Basics -- Word
- Next: Set Default Formatting in Word & Google Docs >>
- Last Updated: Nov 12, 2020 6:20 PM
- URL: https://gavilan.libguides.com/researchpaperformatting
Research Paper Template in Google Docs
Create a Research Paper with Ready-Made and Customizable MLA Format or APA Title Page from Template.net's Collection of Free Research Paper Templates Google Docs. Edit Cover Pages, MLA Headers, APA Style Documentation, and Many Others on Our Research Paper Maker.
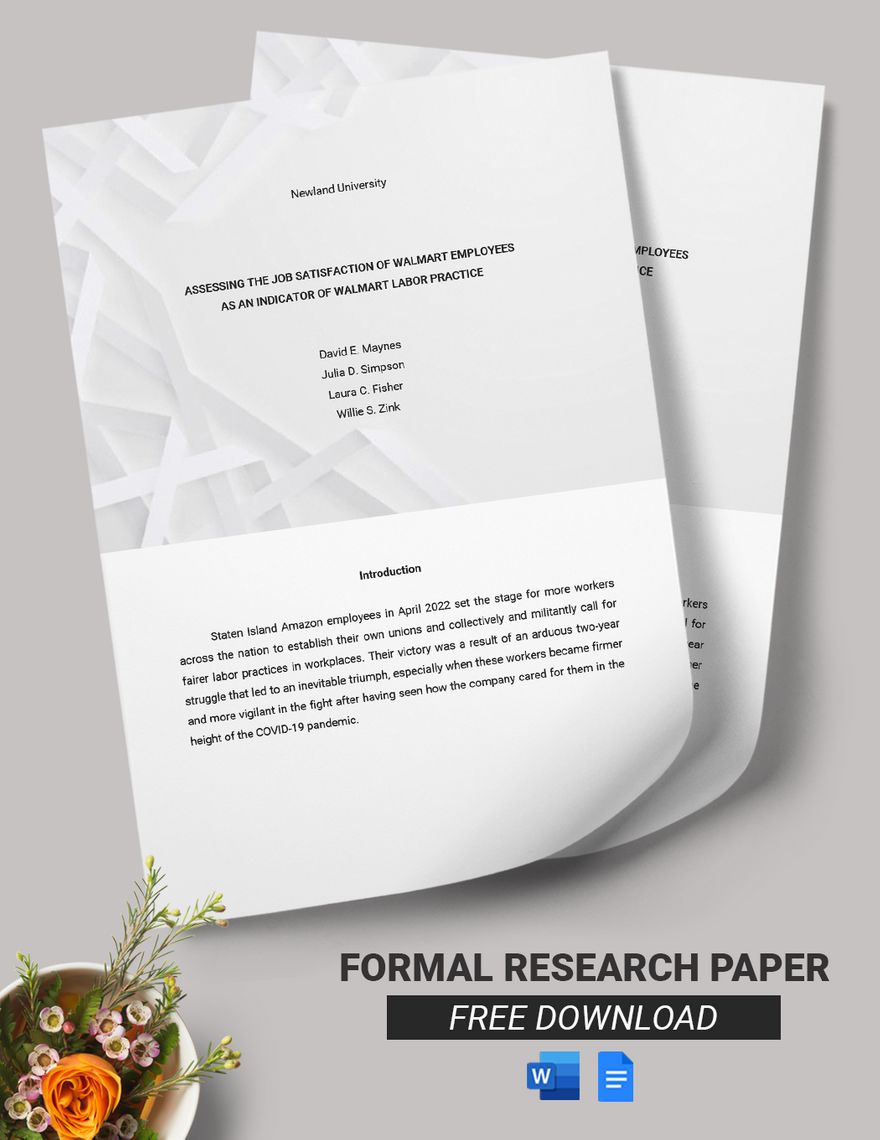
Formal Research Paper Template
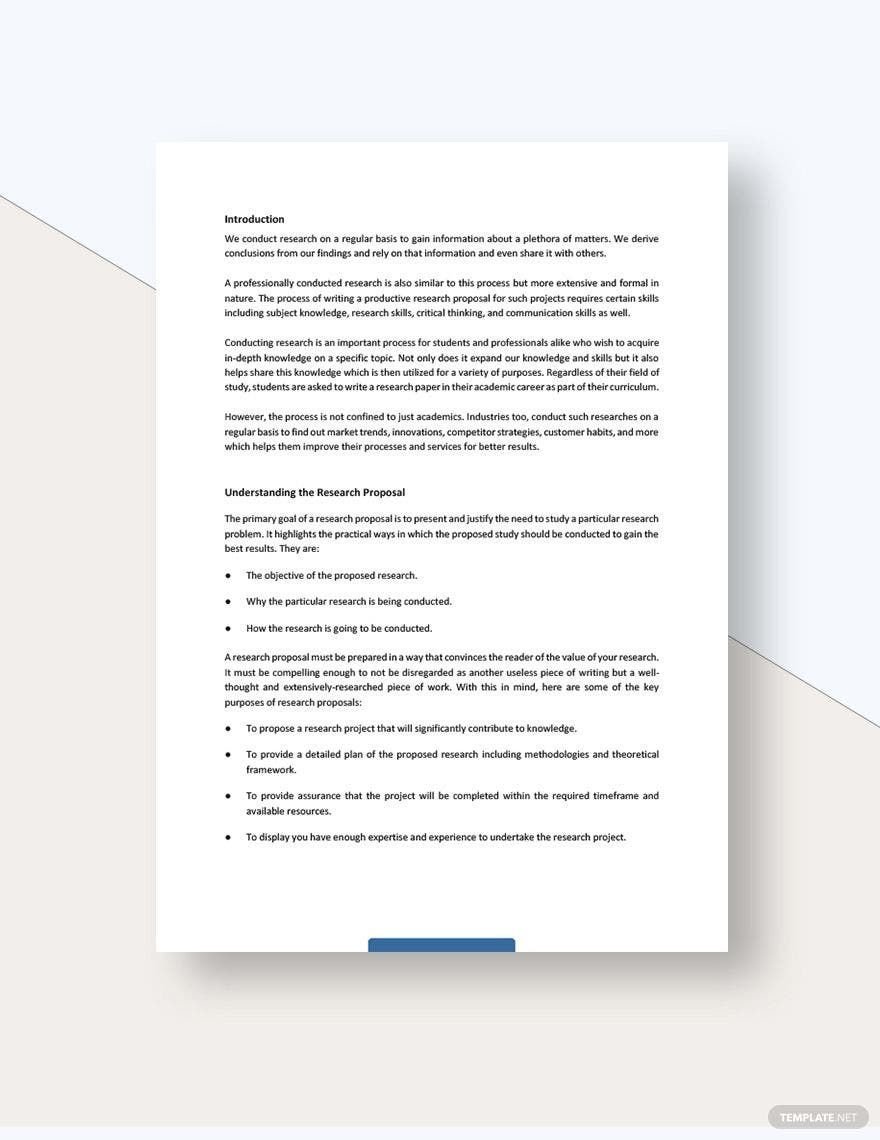
Research Proposal White Paper Template
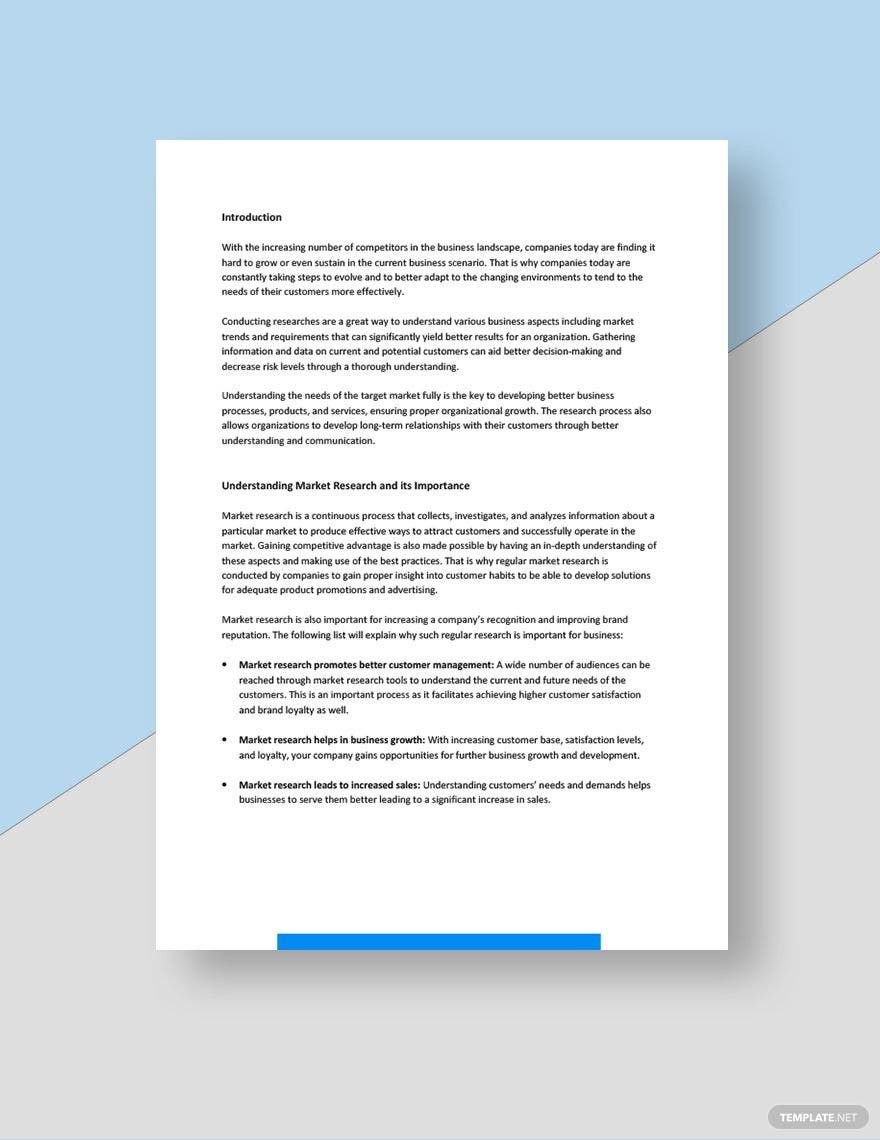
Market Research White Paper Template
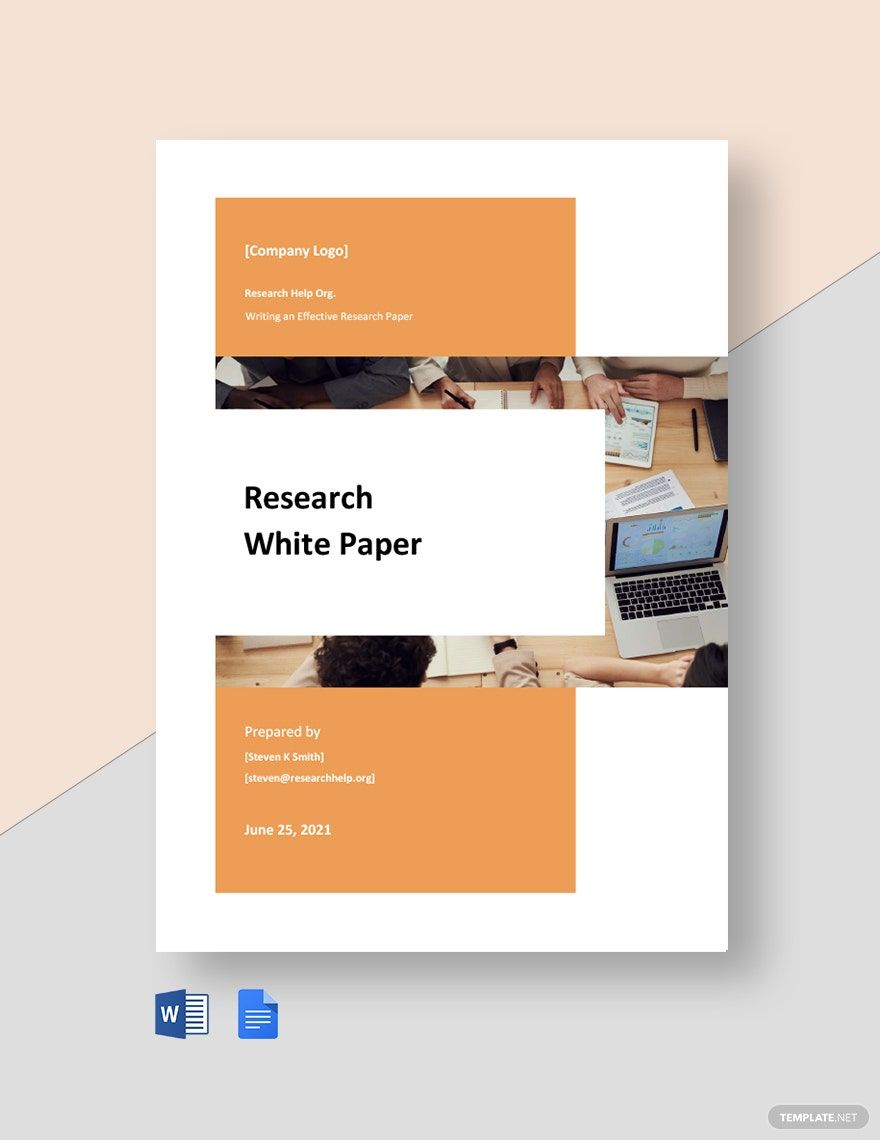
Simple Research White Paper Template
Essay Outline For Research Paper Template
Quantitative Research Paper Template
APA Case Study Format Template
APA Citation Format Template
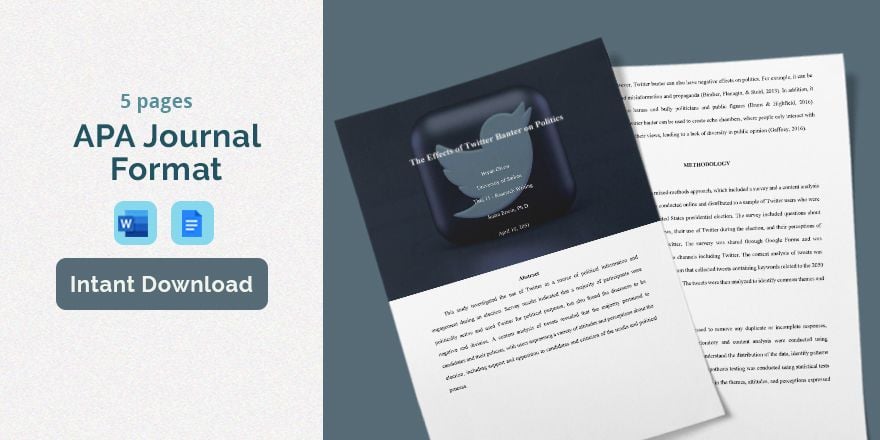
APA Journal Format Template
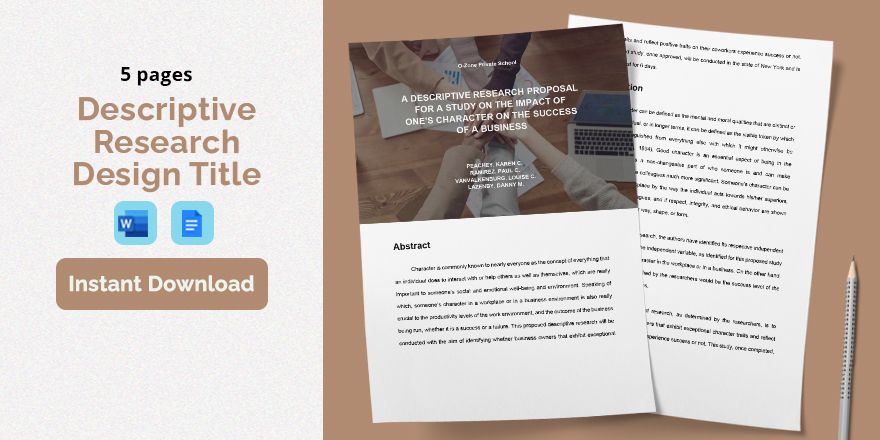
Descriptive Research Design Title Template
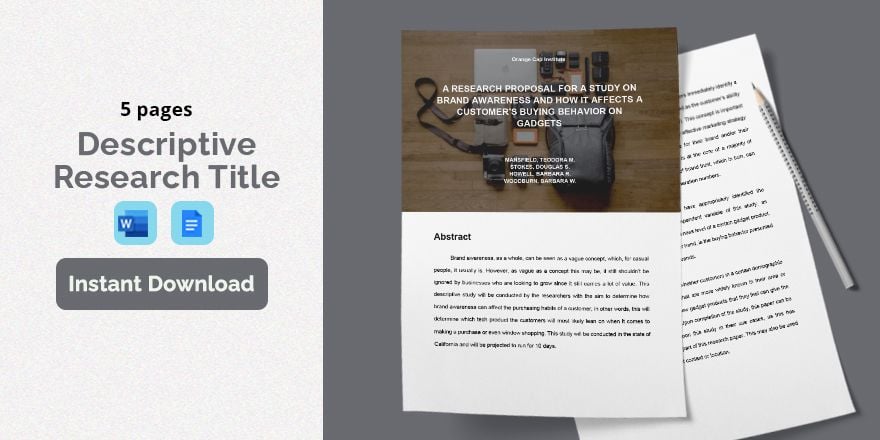
Descriptive Research Title Template
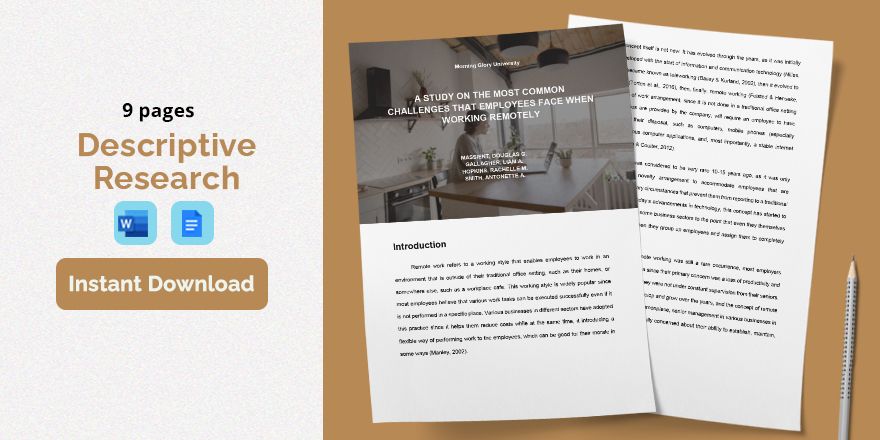
Descriptive Research Template
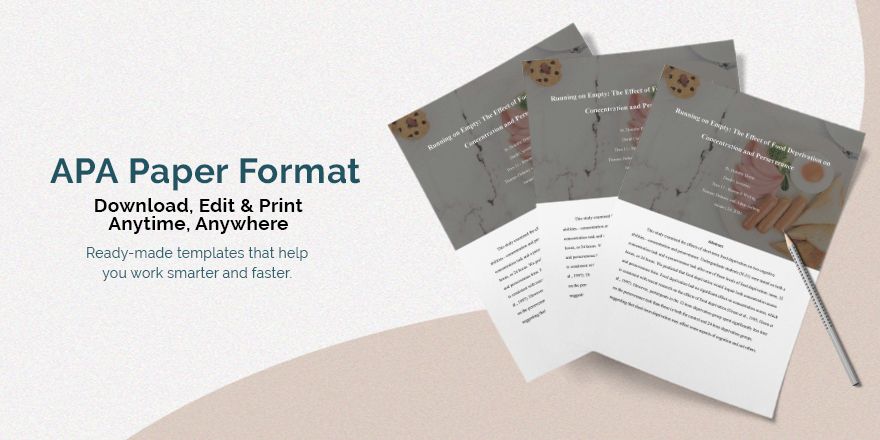
APA Style Format Template
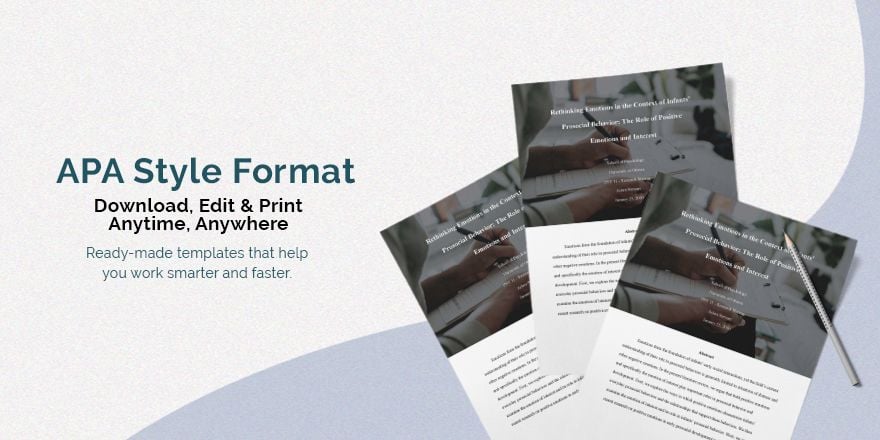
APA Essay Format Template
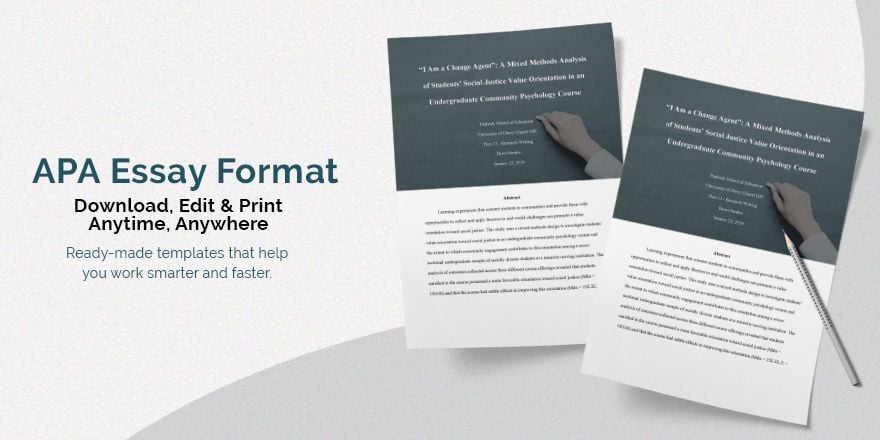
APA Outline Format Template
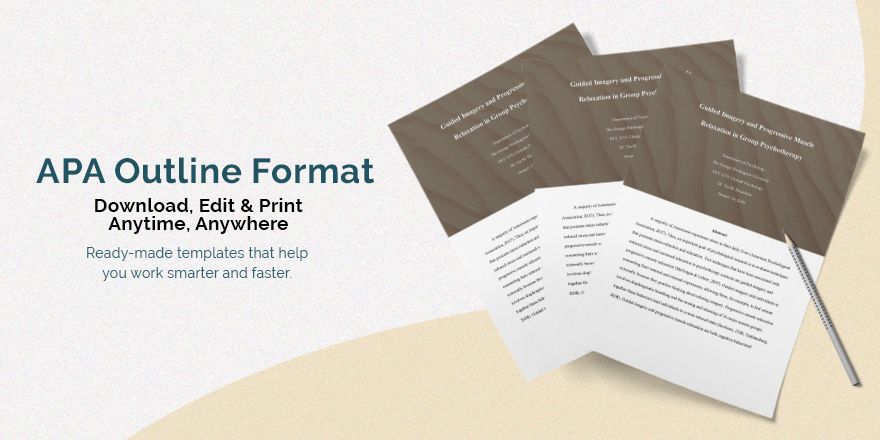
APA Paper Format Template
APA Format Template
Training And Development Case Study Template

Marketing Case Study Template
Medical Case Study Template
Business Case Study Template
Research Paper Extended Essay Template
Research Paper Essay Format Template

Research Paper APA Format Essay Template
Covid 19 Research Paper Essay Template

Career Research Paper Essay Template

Small Business Competitive Research Template
Business Comparative Research Template
Comparative Market Research Template
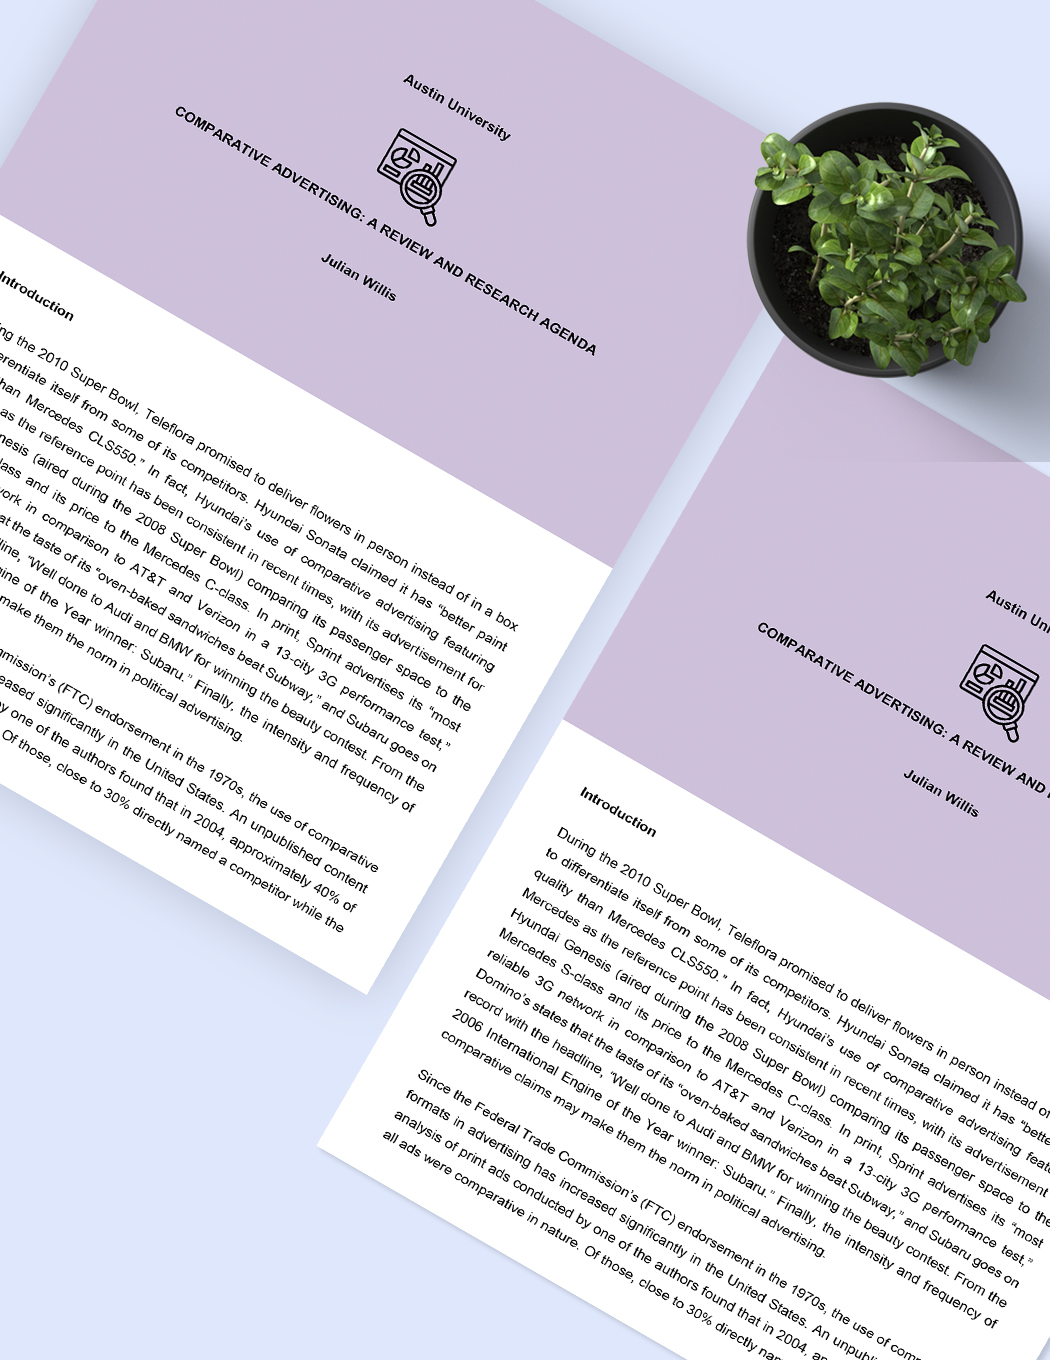
Comparative Research Outline Template
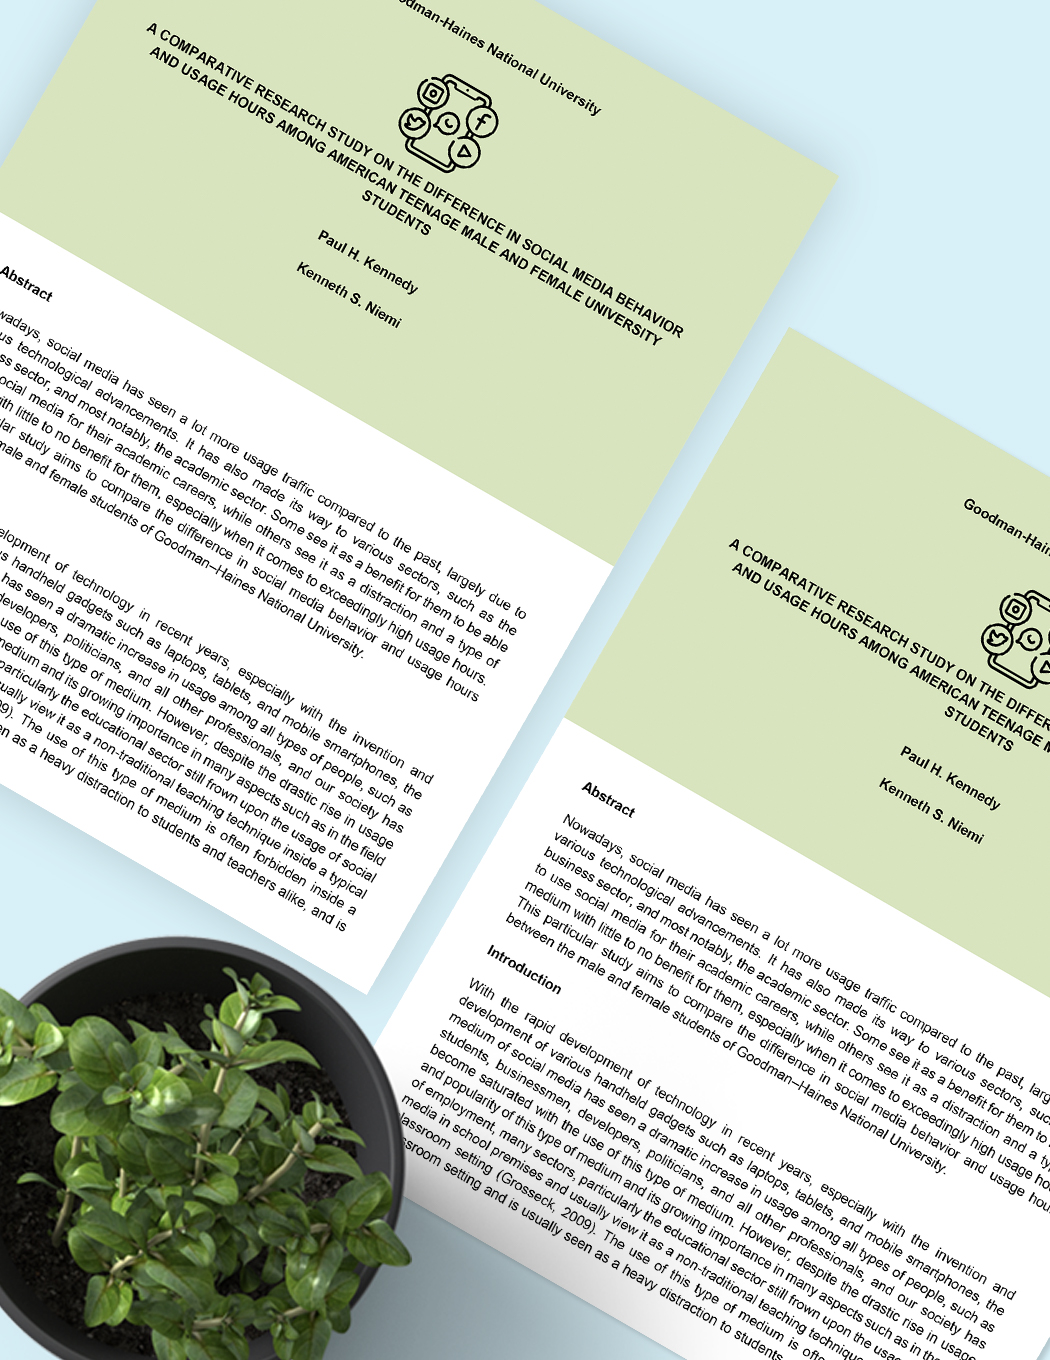
Comparative Research Essay Template
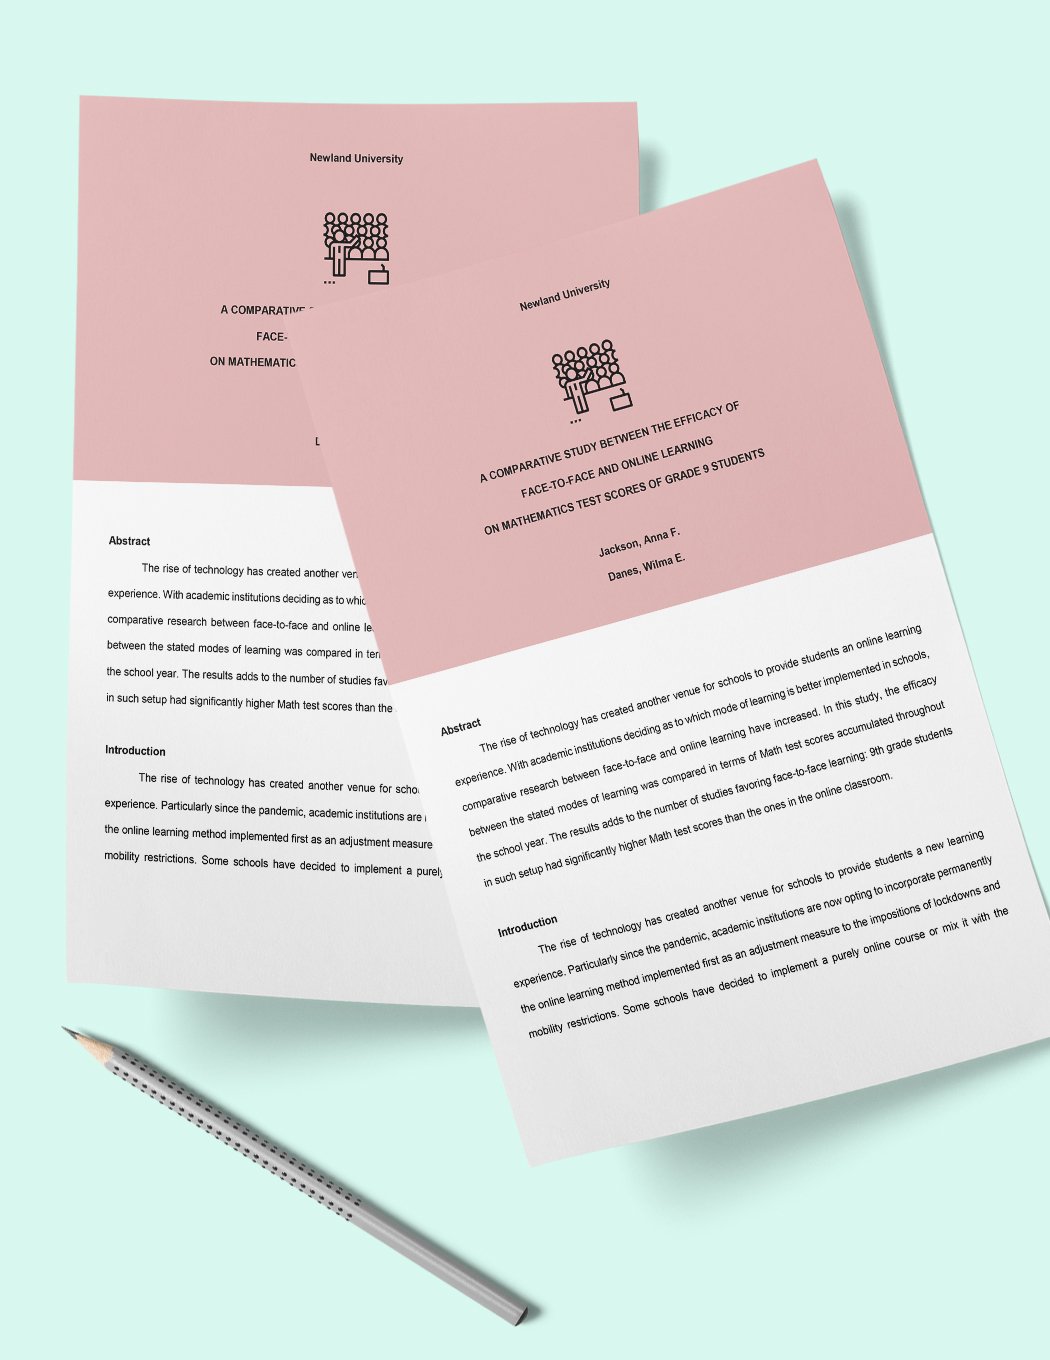
Comparative Research Strategy Template
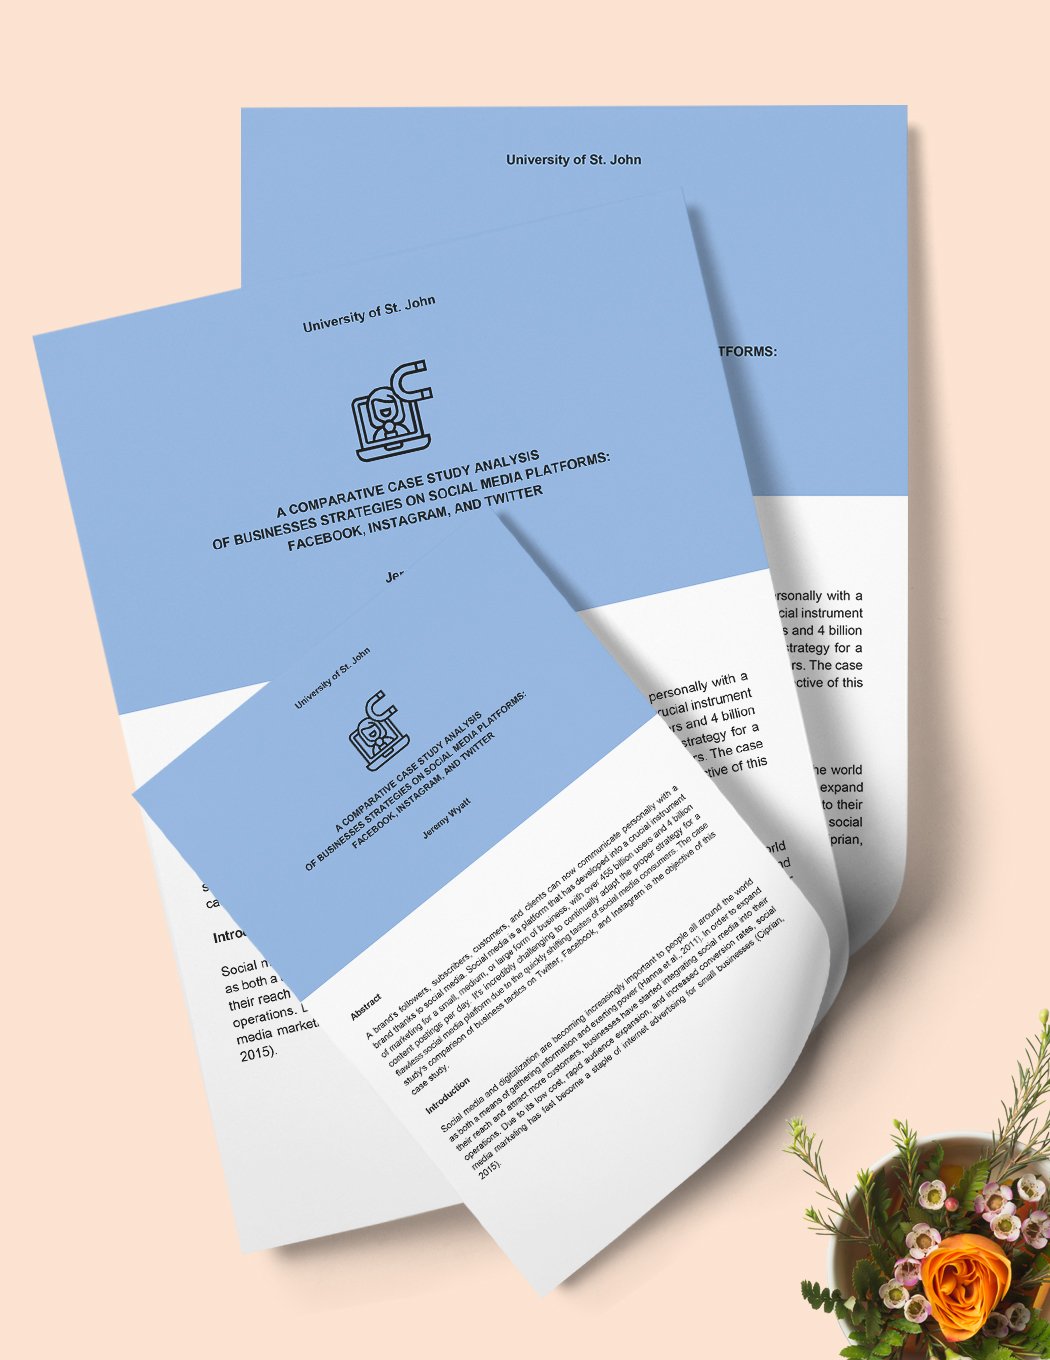
Comparative Research Study Template
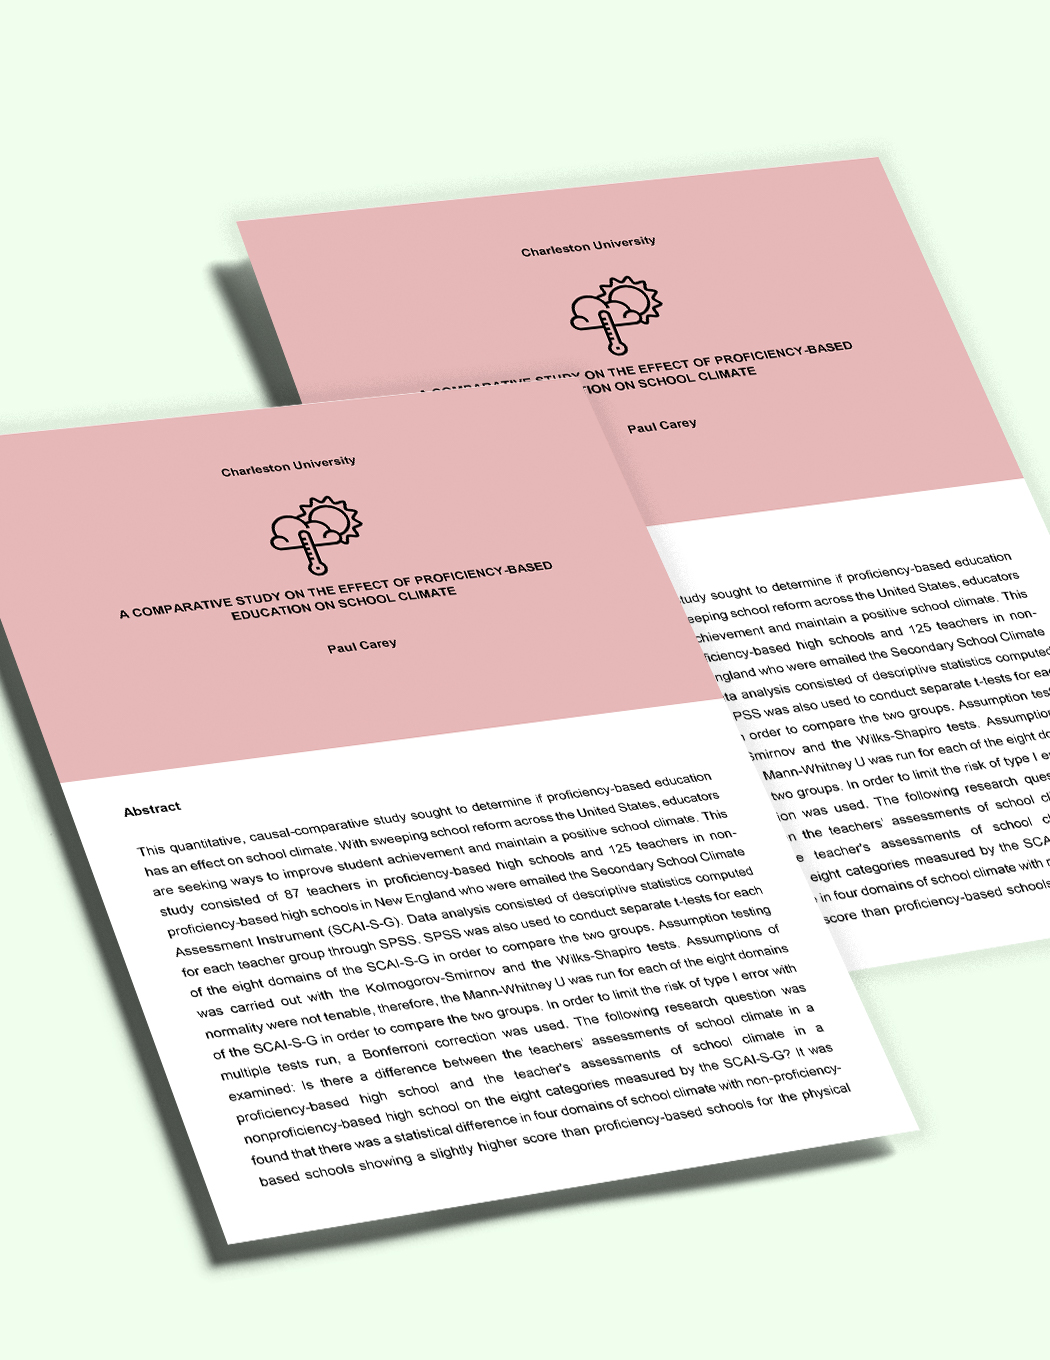
Comparative Research Analysis Template
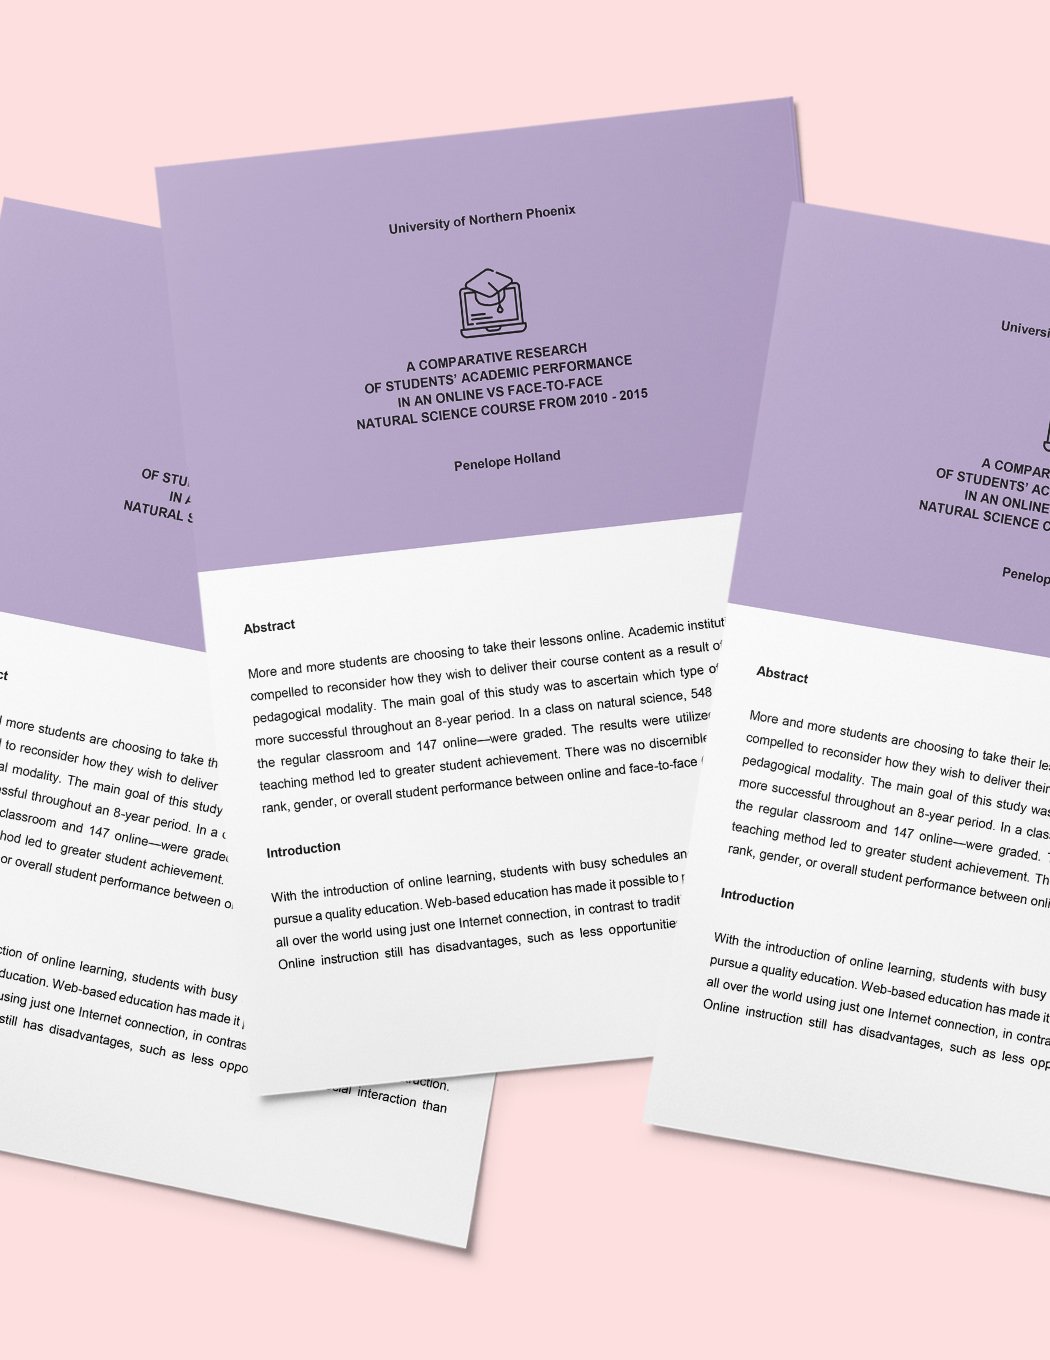
Comparative Research Report Template
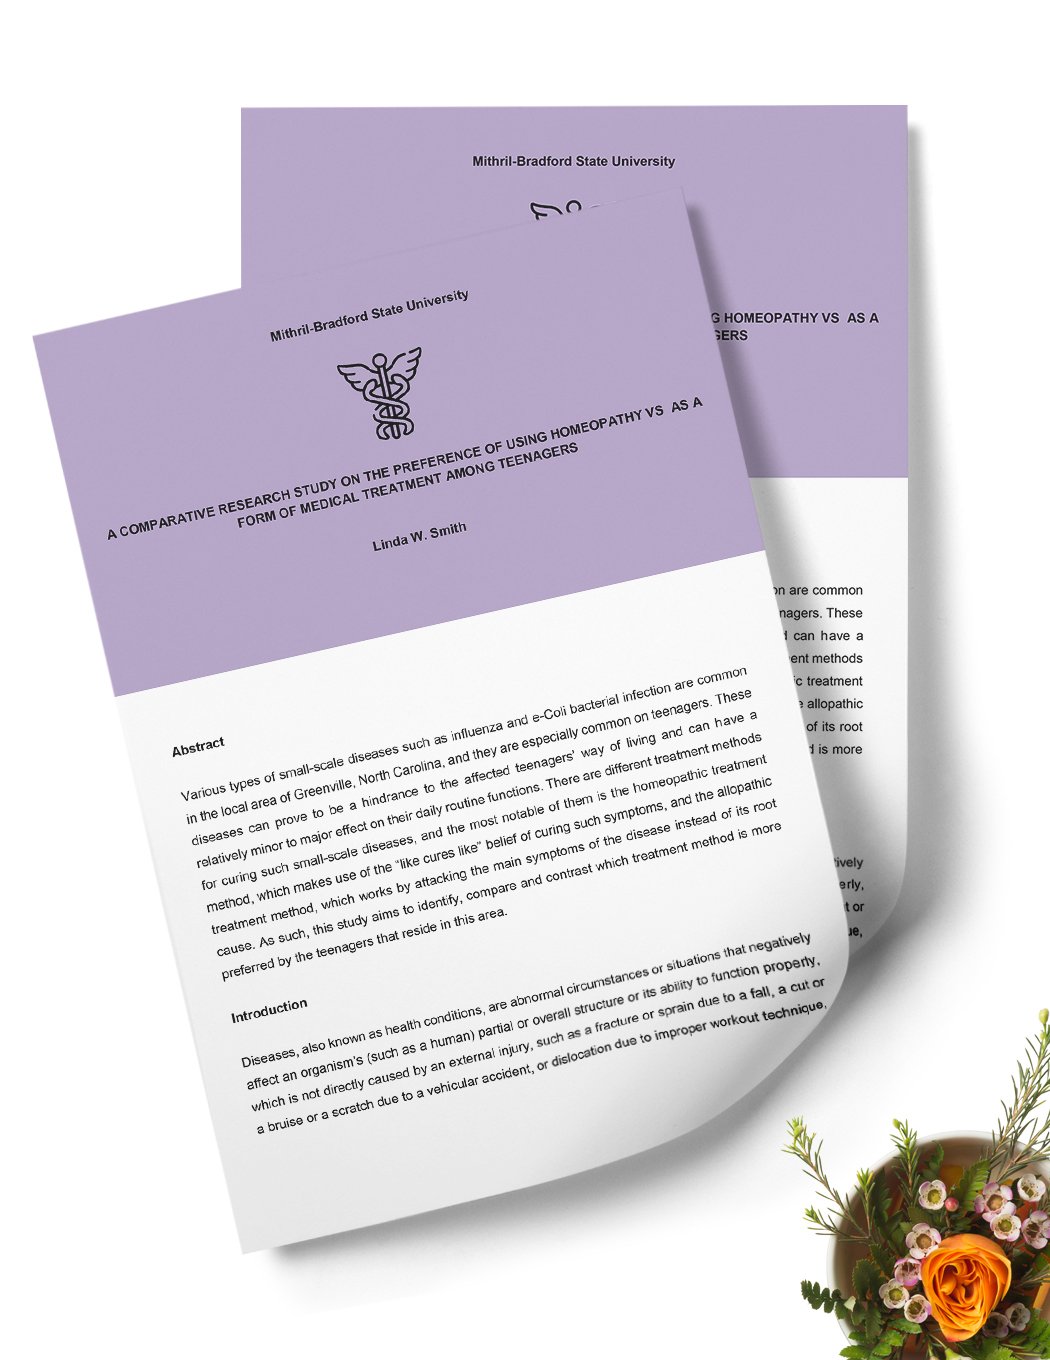
Comparative Research Proposal Template
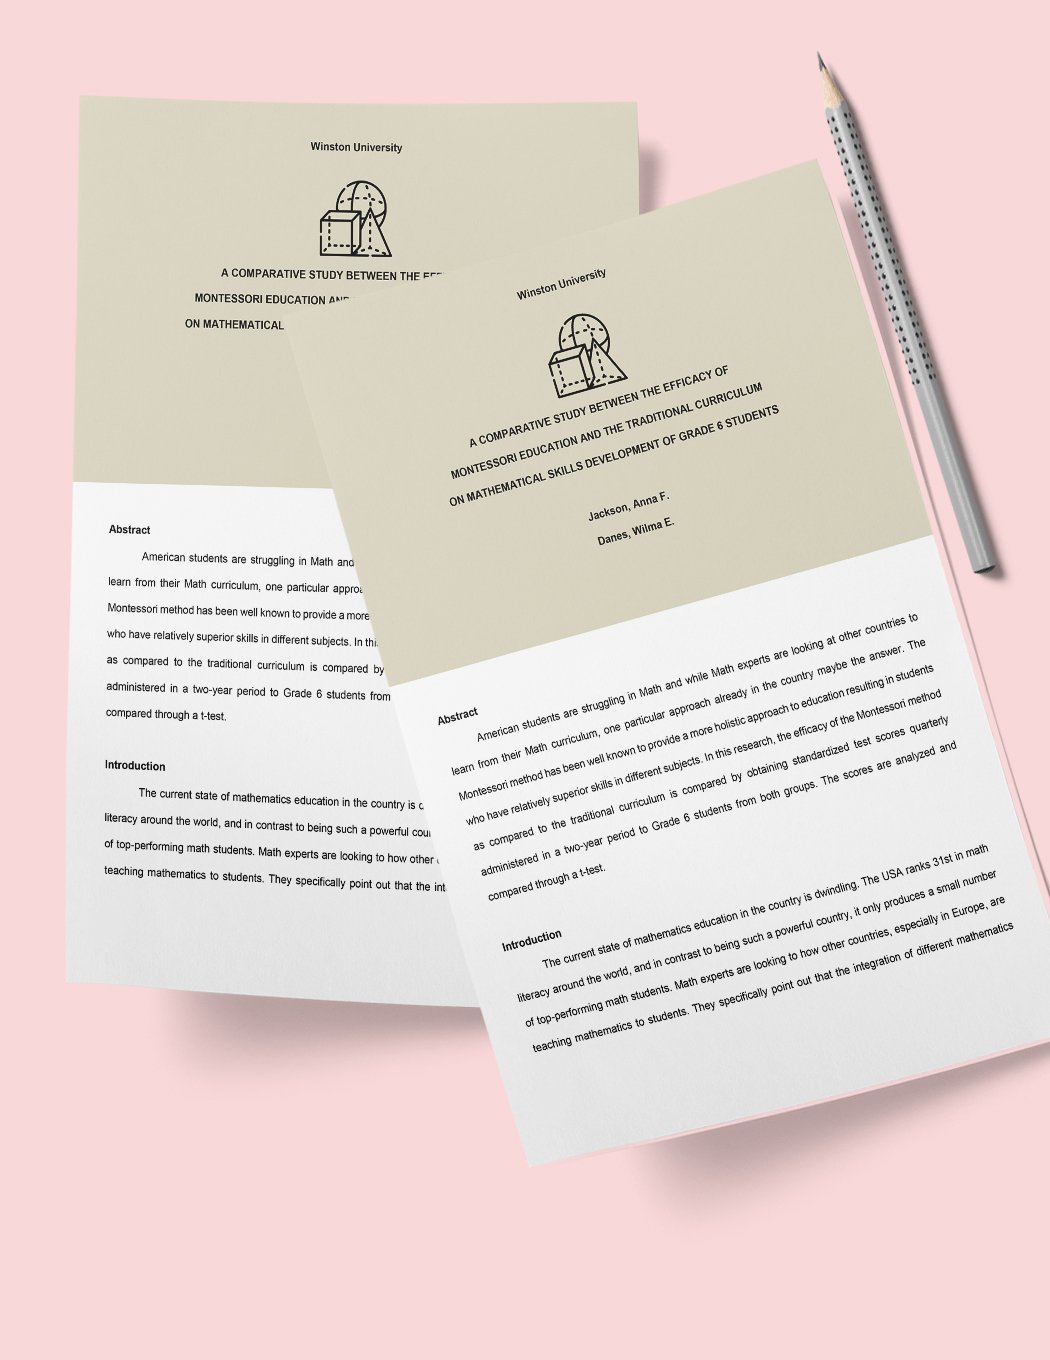
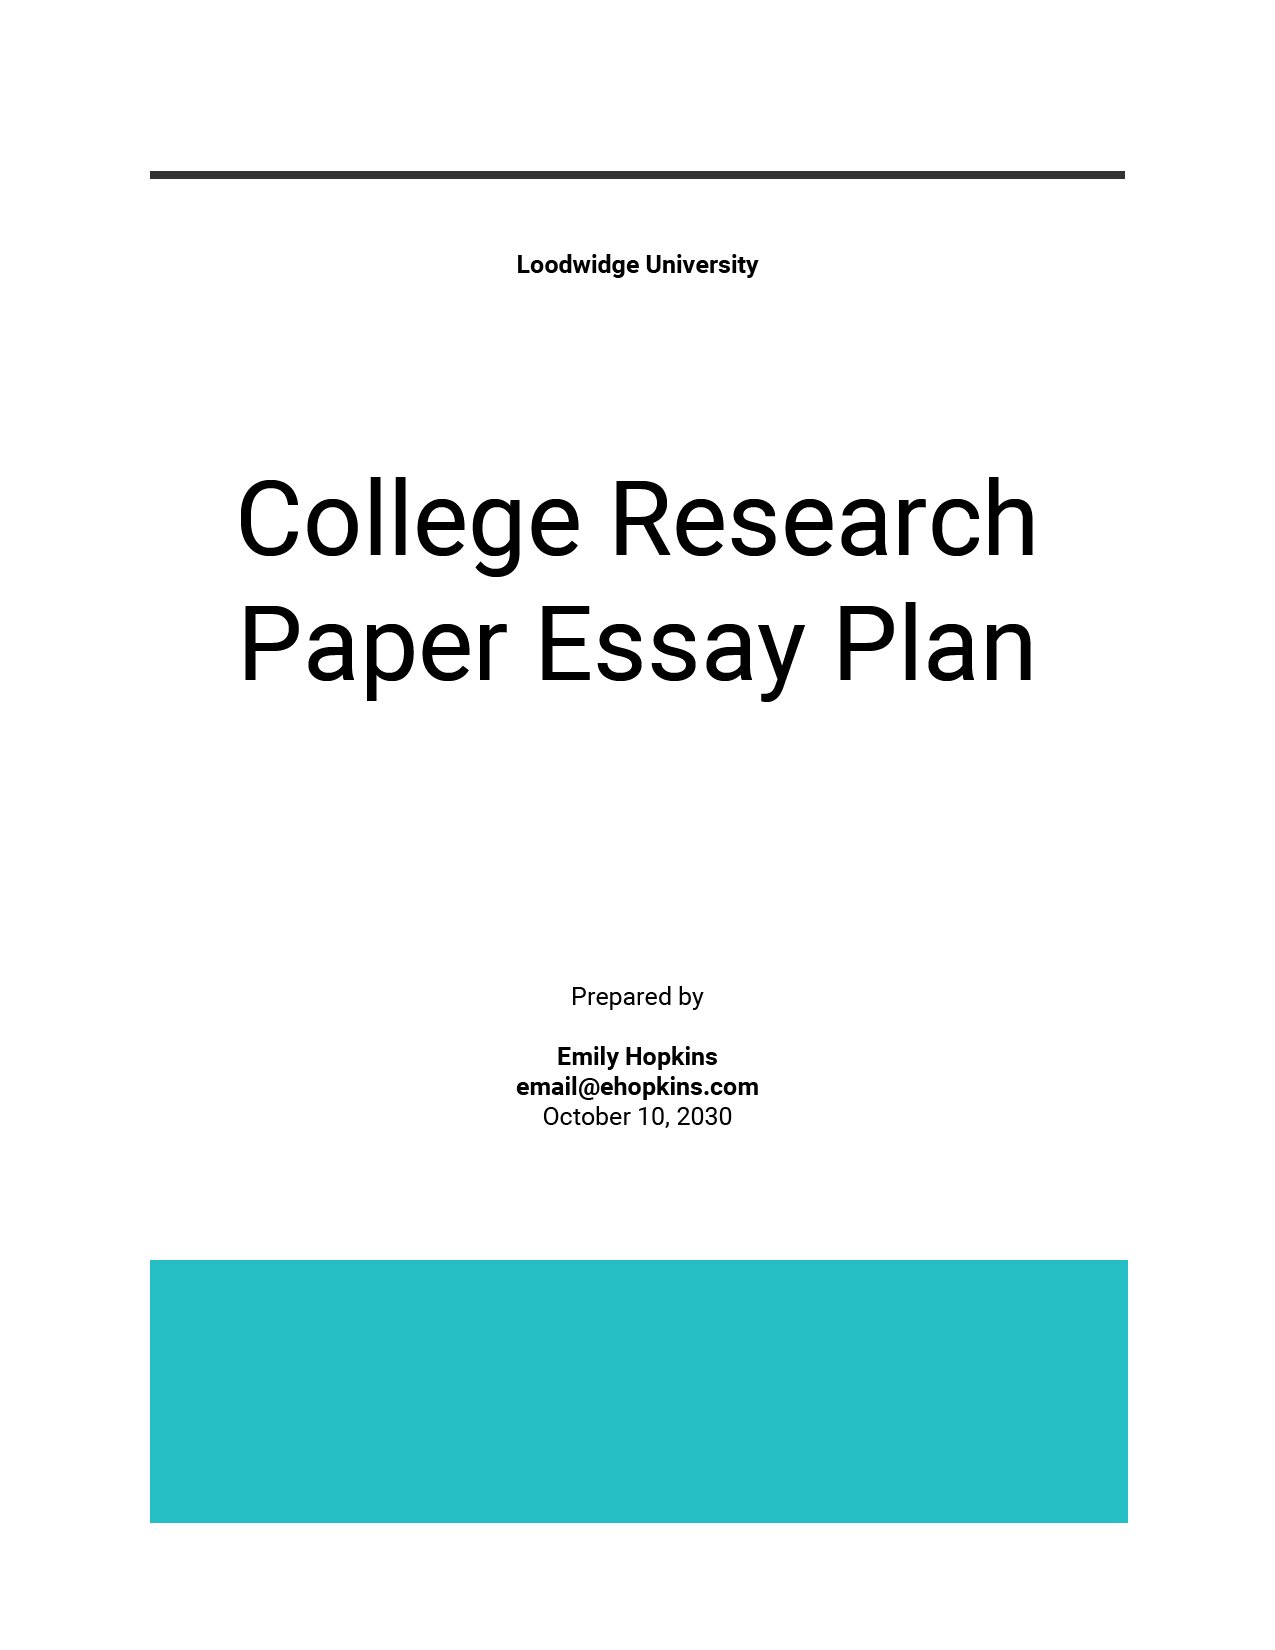
Research Paper For College Essay Template
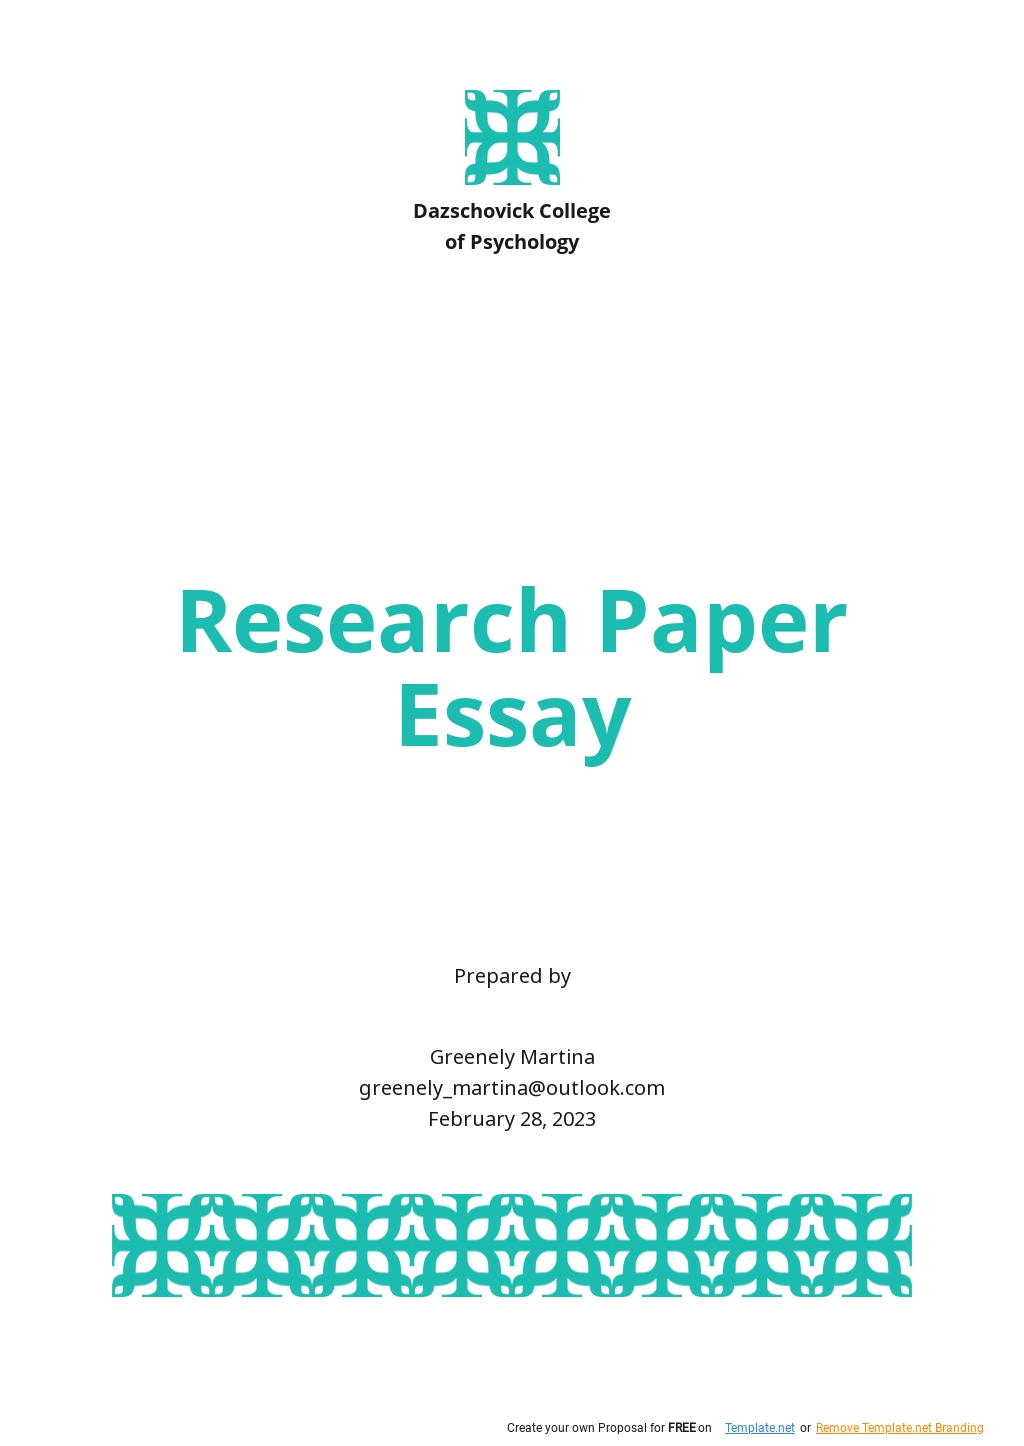
Research Paper Essay Template
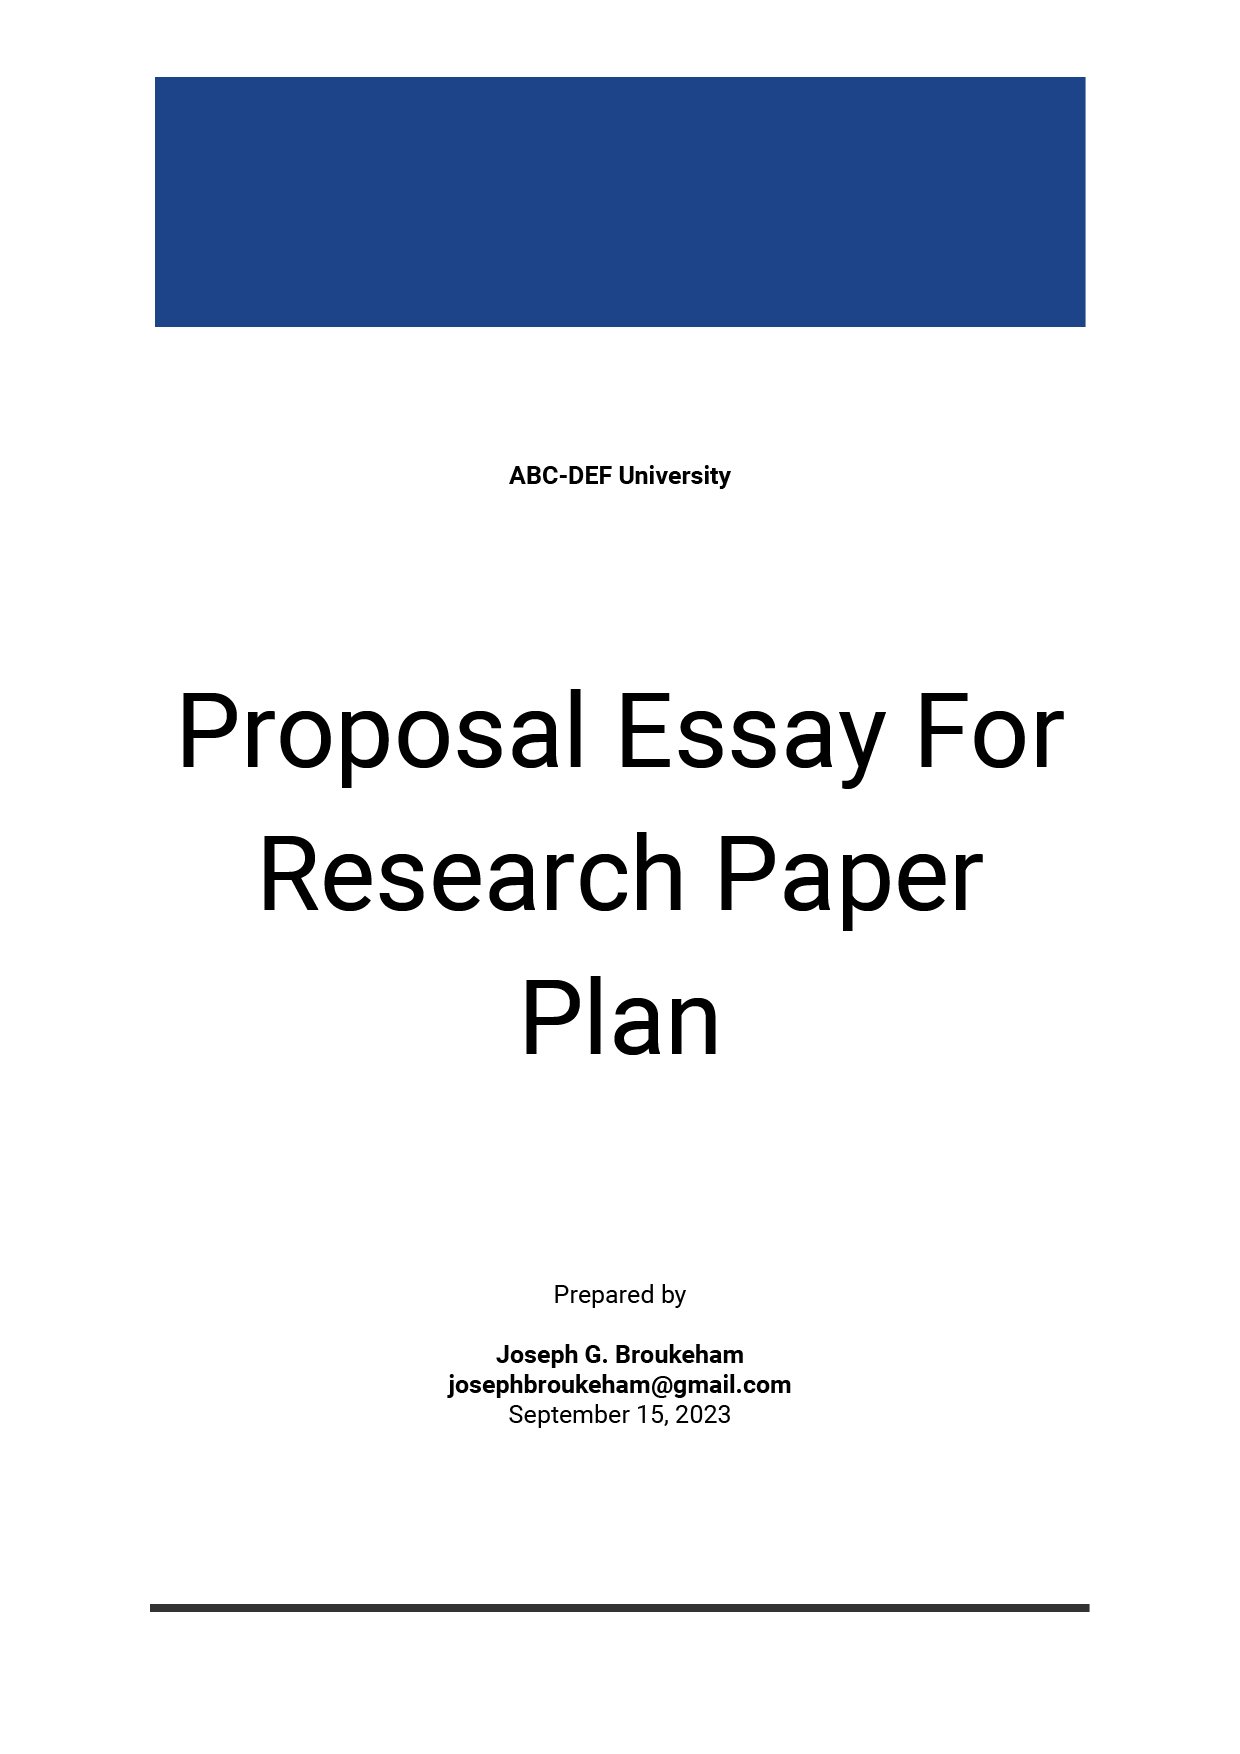
Proposal Essay For Research Paper Template
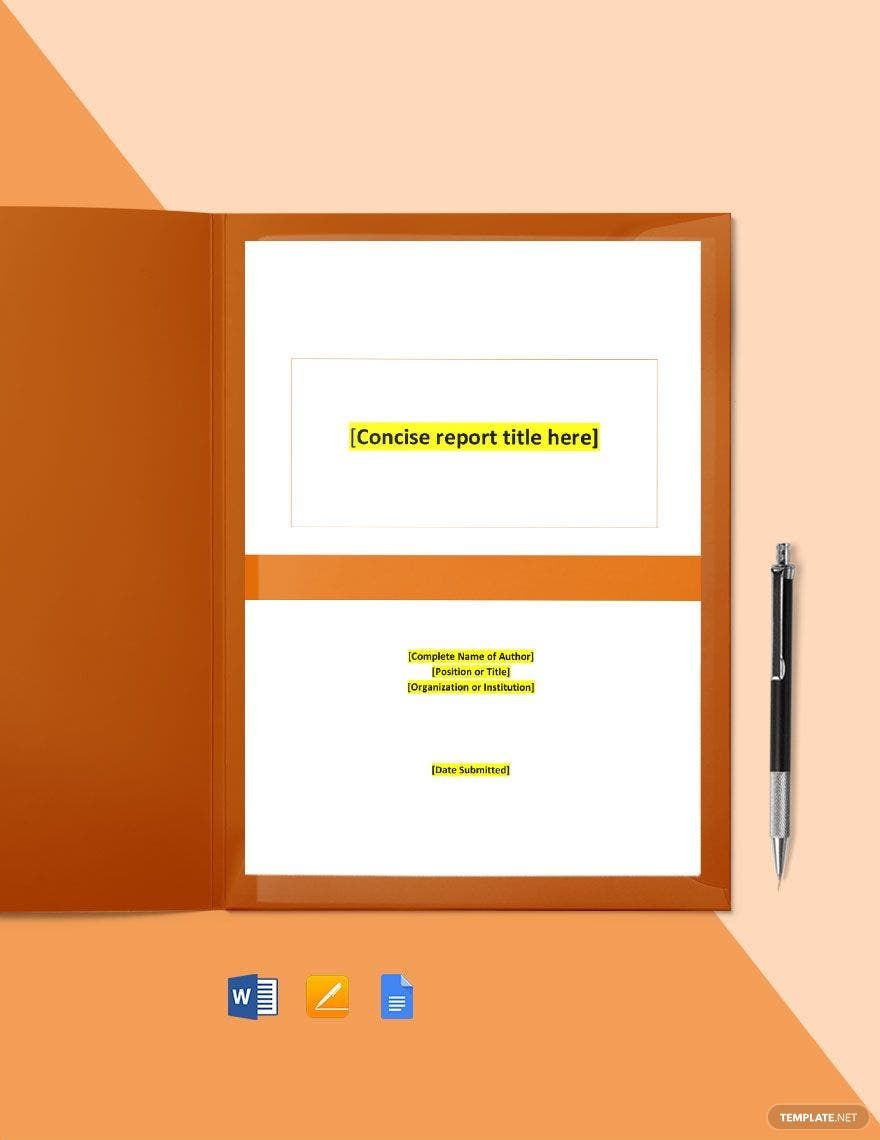
Company Research Report Template
Research Paper Proposal Template

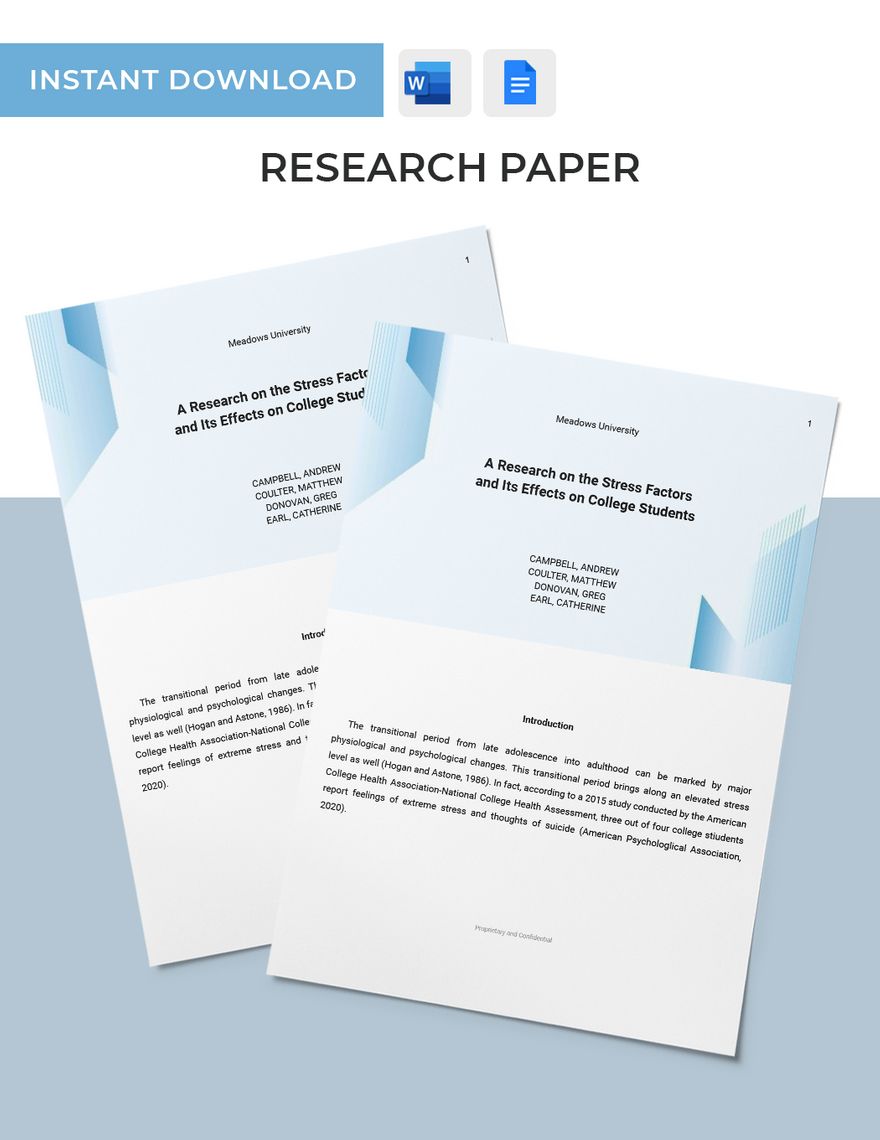
Research Paper Template
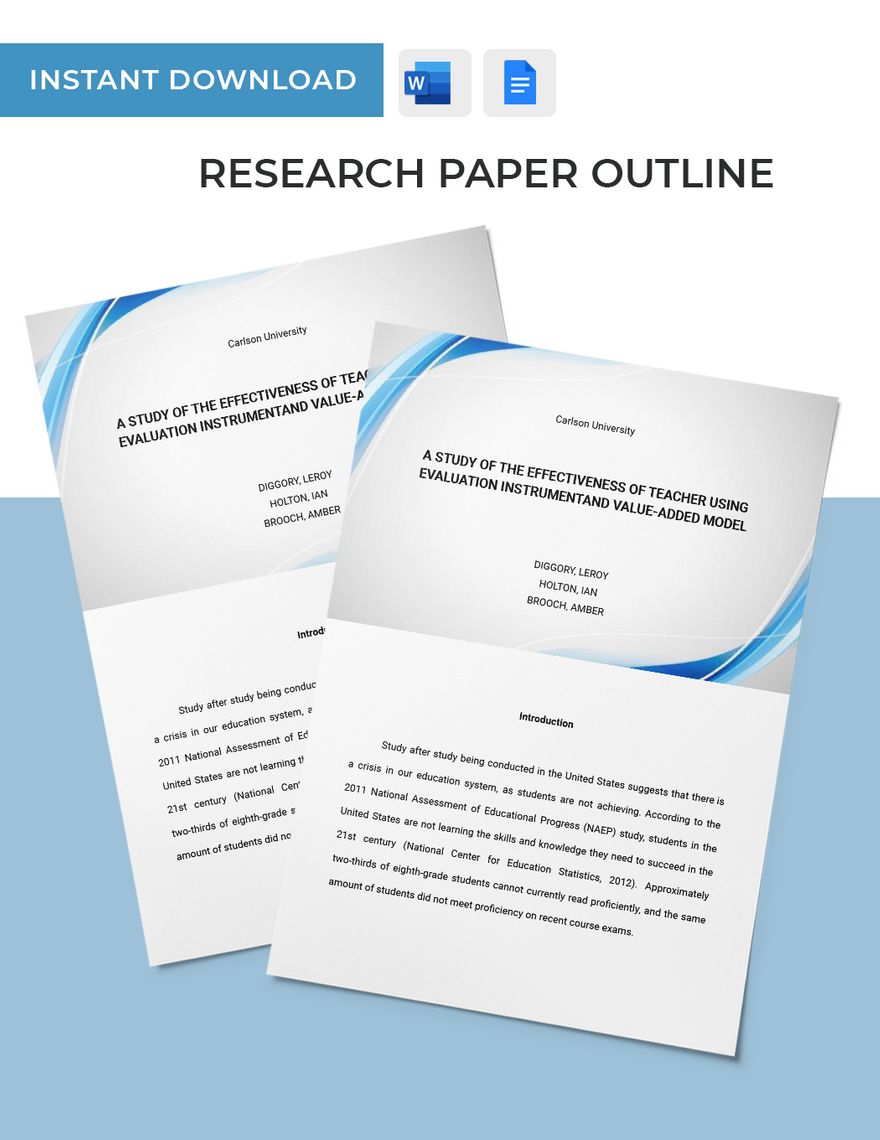
Research Paper Outline Template
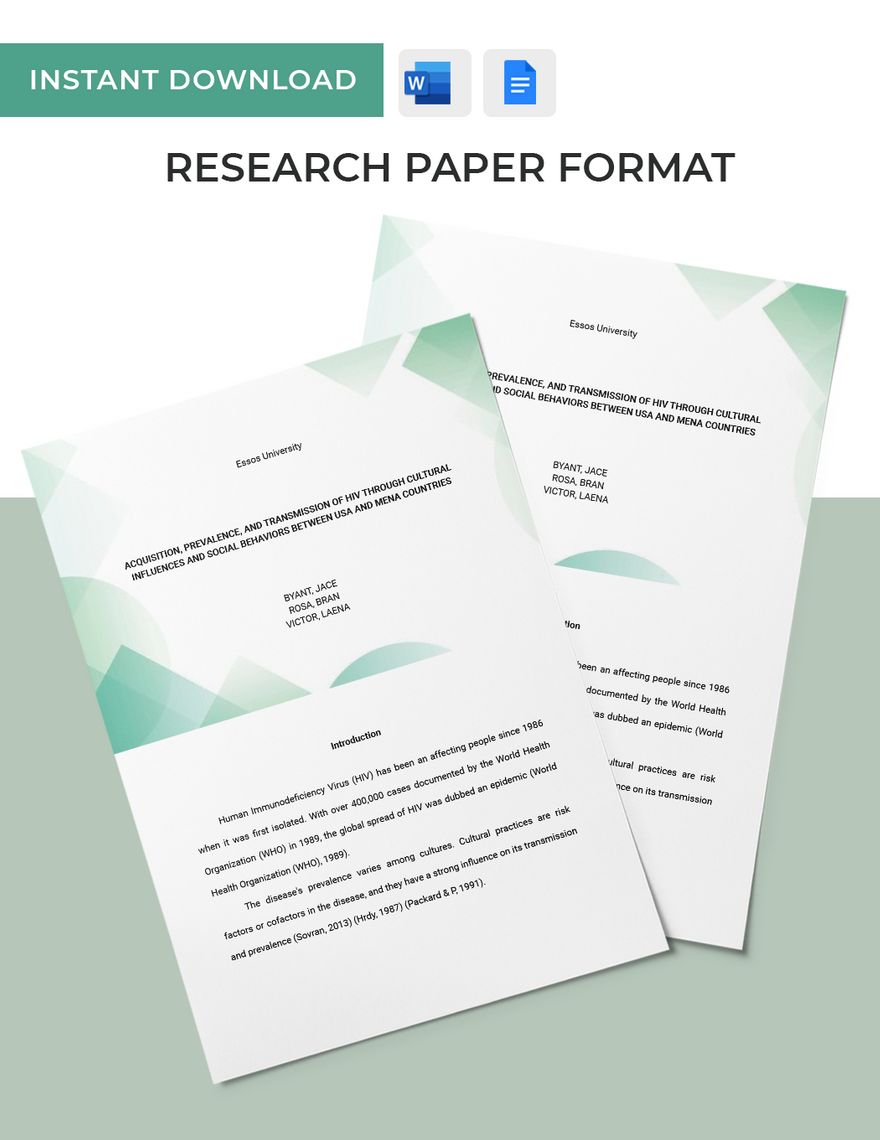
Research Paper Format
Research Paper Report Template

Career Research Paper Template
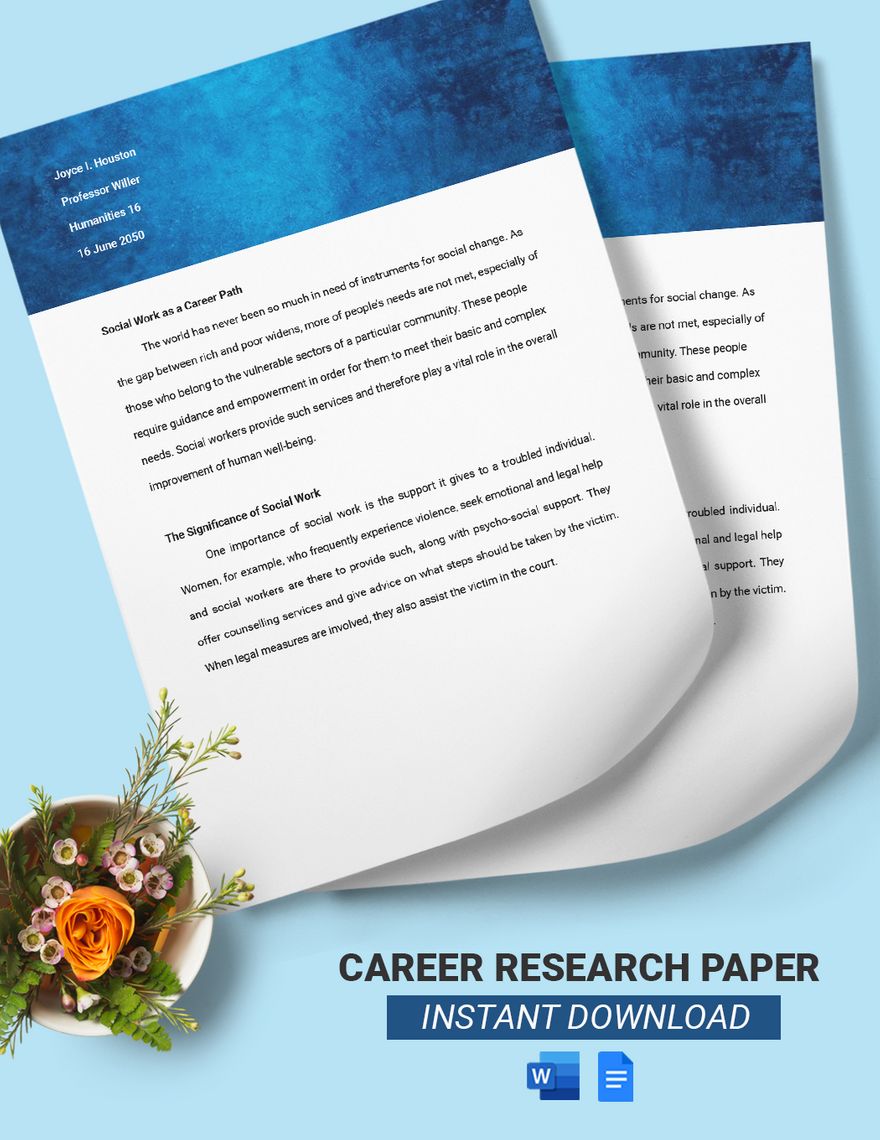
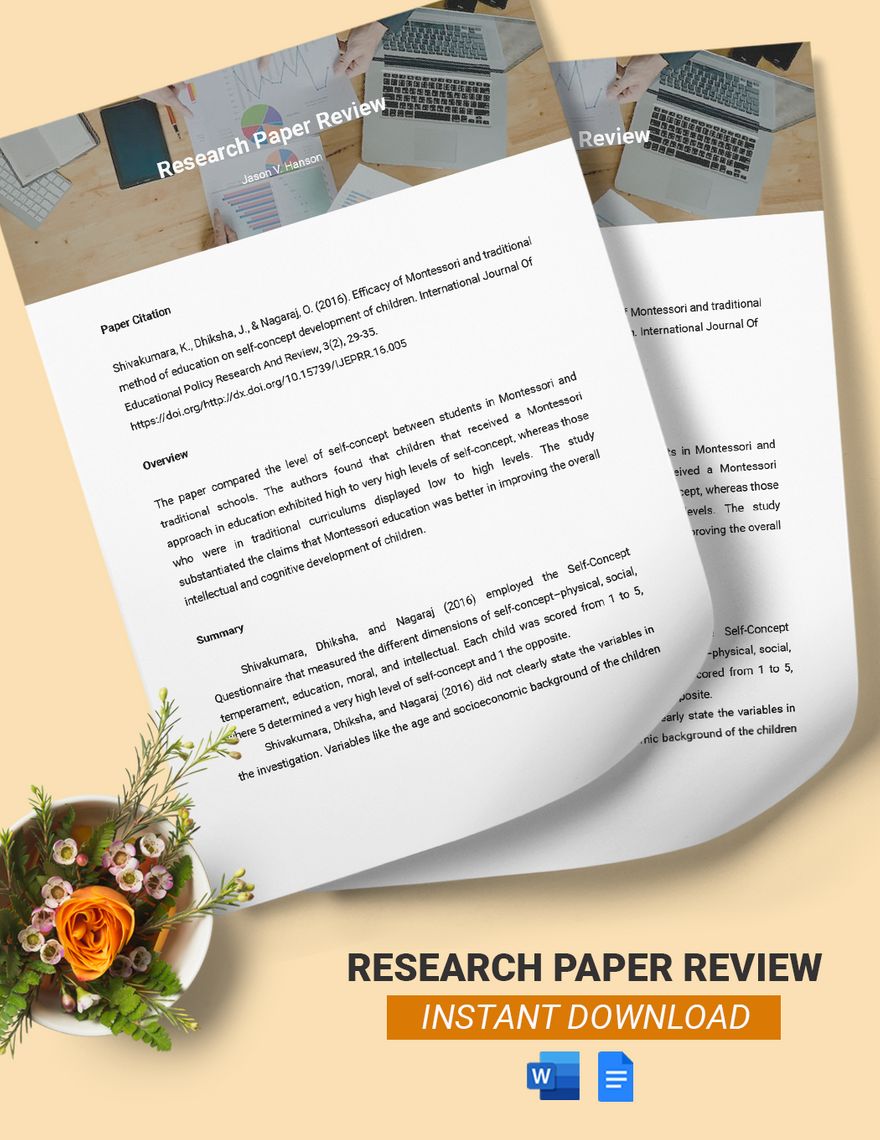
Research Paper Review Template
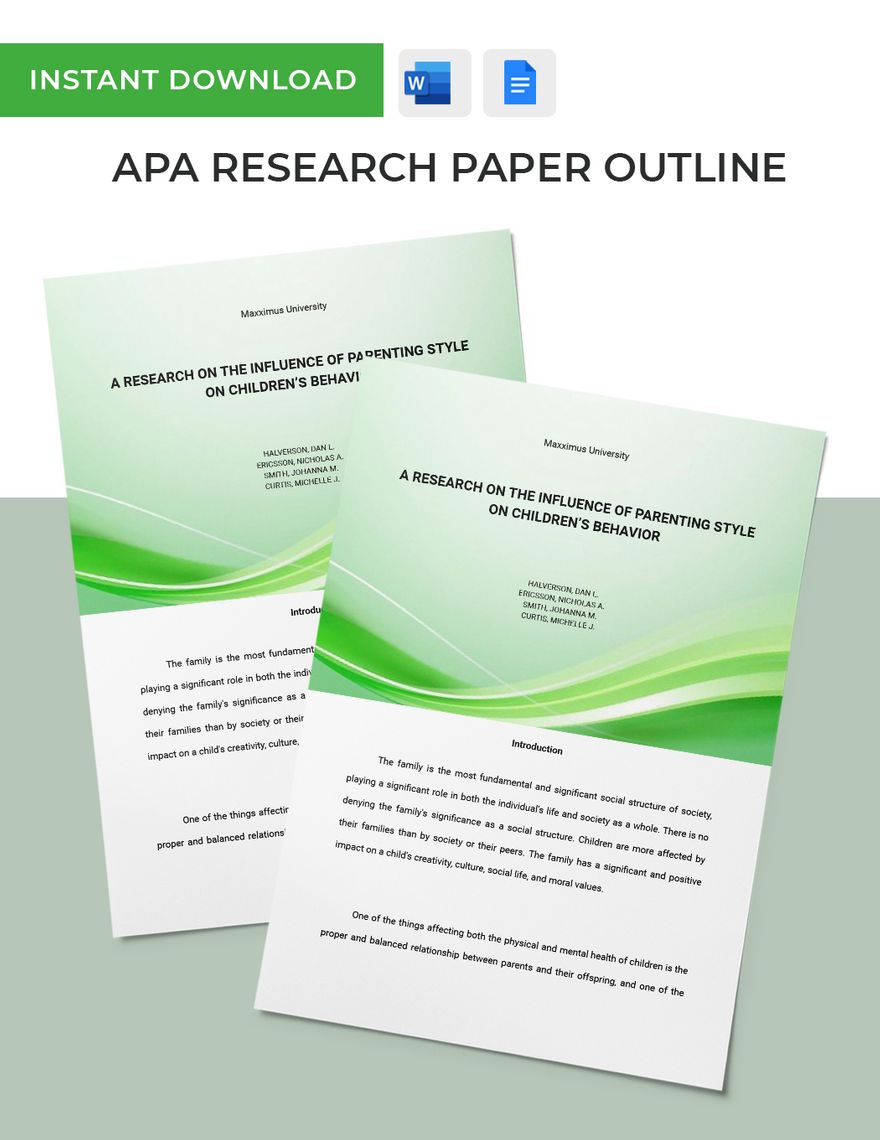
APA Research Paper Outline
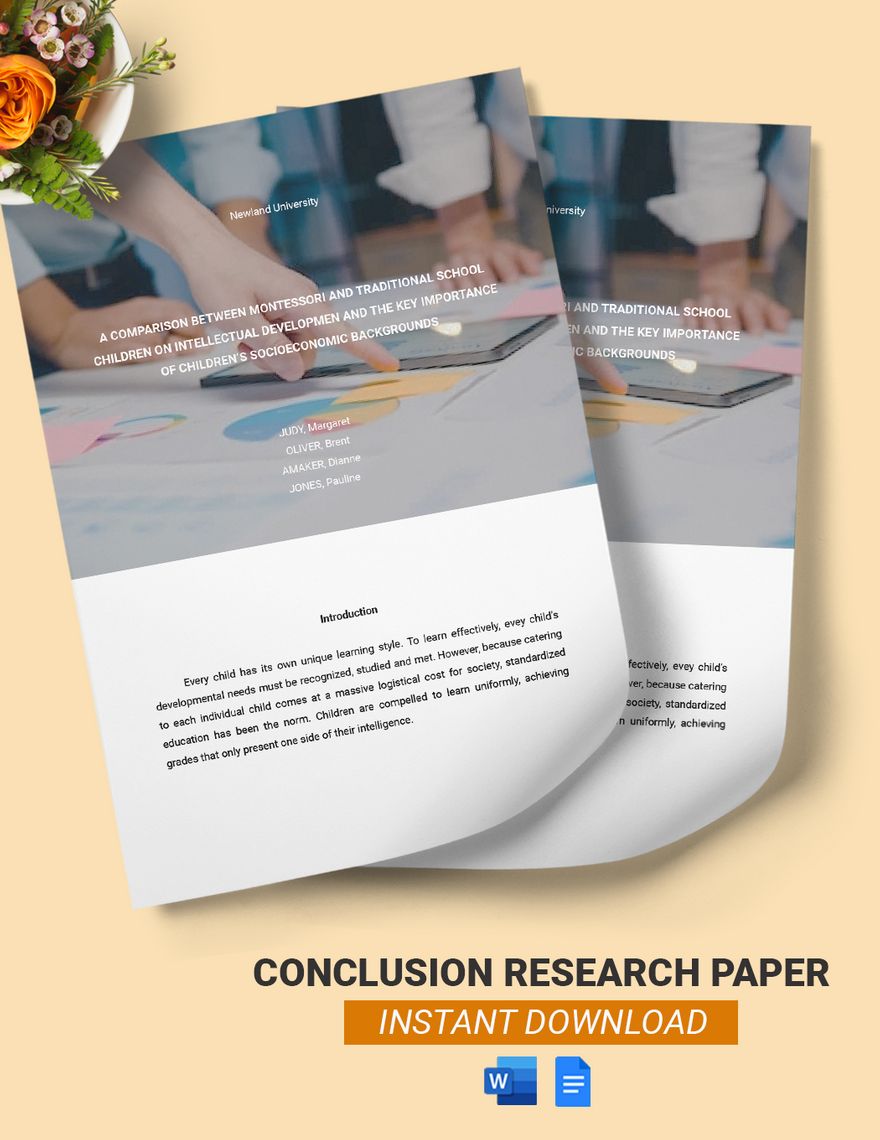
Conclusion Research Paper Template
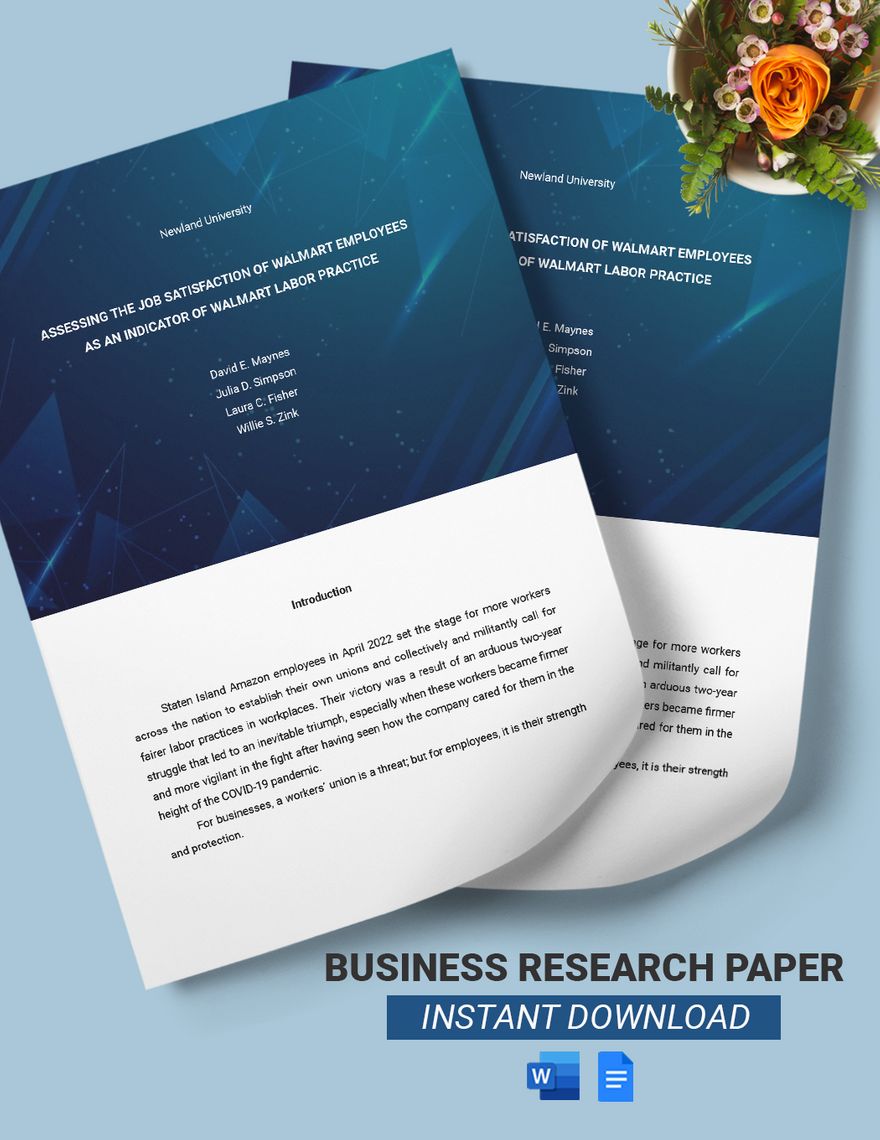
Business Research Paper Template
Download unlimited Research Templates!

IMAGES
COMMENTS
Chicago style papers are double-spaced, with a one inch margin on all sides. The standard font for a Chicago style paper is size 12 pt. and either Times New Roman or Arial. Like APA, Chicago Style includes a cover page with the following information: a title in the center of the page, with your name, class name, and the date the paper is due at ...
6 Google Docs: Instructions for Formatting Updated May 2021. 2. To create the paper’s headings, click to position the insertion point in the top left corner of the document, making sure the “Left Align” button is selected, and type your full name, the instructor’s name, the course name and number (e.g. ENG 111), and the paper’s due date,
Your outline should be written before you start your paper and after you finish researching. It organizes your thoughts and creates a plan so you know how your paper will look. 2. Your introduction or thesis statement tells the audience what you will explain in your paper. It will let the audience know what to expect from reading your paper. 3 ...
Guarantee That Your Research Paper Follows General Guidelines, Keeping in Mind the APA Format and APA Style. Before and Keyword Research, Use Template.net for Research Paper Templates and Project Proposal Templates to Help You With Your Research Paper. You Can Also Utilize the Timeline Templates Available to Track and Monitor Your Progress.
Aug 28, 2024 · Research papers with Co-Authors in Google Docs. Google Docs is a collaborative text editor. Unlike Word, you do not need to send copies of your document to all your collaborators. Invite them as editors to your document; everyone can work on it in real-time.
This article reviews how to use and format a Research Paper Outline Template to help you write a comprehensive research paper. A research paper outline is a writing tool that highlights all the topics of a research paper in the order in which they will appear in the final document. The topics are divided into paragraphs and accompanied by ...
Research Paper Template. The fastest (and smartest) way to craft a research paper that showcases your project and earns you marks.. Available in Google Doc, Word & PDF format 4.9 star rating, 5000 + downloads
For more help using and formatting Google Docs, check out this Essential Training and other helpful tutorial courses available on Linkedin Learning.. Linkedin Learning is a professional social network that has recently expanded to maintain and develop a wide variety of video tutorials and online courses to foster continued learning for business, higher education, and government professions.
Nov 12, 2020 · From your Google Doc, 1) click on the Line Spacing icon (looks like lines with an arrow up and down) and 2) select Double from the drop down menu. OR. From your Google Doc, 1) click on Format from the menu, 2) put your cursor on Line Spacing and 3) select Double from the pop out menu.
Create a Research Paper with Ready-Made and Customizable MLA Format or APA Title Page from Template.net's Collection of Free Research Paper Templates Google Docs. Edit Cover Pages, MLA Headers, APA Style Documentation, and Many Others on Our Research Paper Maker.