Skip to Main Content

Chemistry project

Make a Lava Lamp
- Flask or empty water bottle (a clear plastic bottle works well)
- Vegetable oil, cooking oil, or baby oil
- Food coloring
- Alka-Seltzer
- Fill the flask most of the way with your choice of oil.
- Fill the rest of the flask with water. The oil floats and the water sinks to the bottom of the jar under the oil and looks like little, clear blobs.
- Add a few drops of food coloring; your choice of color. The food coloring is water-based, so it will also sink and color the water that is now at the bottom of the flask.
- Break an Alka-seltzer tablet into a few small pieces, and drop them in the flask one at a time.
- Watch your lava lamp erupt into activity! As the chemical reaction slows down, simply add more Alka-seltzer.
A lava lamp works because of two different scientific principles: density, and polarity.
Concept 1: Density
Density is the measurement of how compact a substance is - how much of it fits in a certain amount of space.
(The scientific equation is density = mass/volume .)
If you measure an equal volume of oil and water, you'll find that the water is heavier than the same amount of oil. This is because water molecules are packed more tightly; a cup of water actually has more mass than a cup of oil.
Because water is more dense than oil, it will sink to the bottom when the two are put in the same container. Density is affected by temperature—the hotter a liquid is, the less dense it will be.
Concept 2: Polarity
Polarity is the quality of having two oppositely charged poles.
Water molecules are "polar" because they have a lopsided electrical charge that attracts other atoms. The end of the molecule with the two hydrogen atoms is positively charged. The other end, with the oxygen, is negatively charged.
Just like in a magnet, where north poles are attracted to south poles ("opposites attract"), the positive end of the water molecule will connect with the negative end of other molecules.
Oil molecules, however, are non-polar— they don't have a positive or negative charge, so they are not attracted to the water molecules at all. This is why oil and water don't mix!
What Happened:
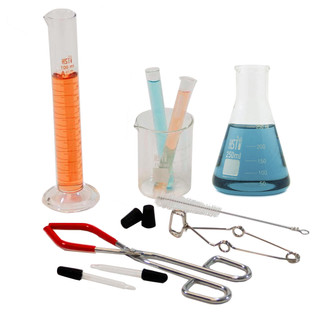
Set up your chemistry projects like a pro with this lab equipment! This set contains the most commonly used chemistry lab equipment, equipping you to explore critical chemistry concepts with durable glassware.
View Details:
In Stock & Ready to Ship
Need It Fast? See Delivery Options In Cart.
You observe temperature every day with how hot or cold you feel. Temperature is so much more than that! Design and carry out a fun experiment by making a thermometer and using it to measure the effects of various conditions on temperature.
Wonder (K-2nd grade)
Out of Stock, Expected to Ship: 12/02/2024
Item ships to the United States only.
Combining flavor, fun & chemistry, this spherification kit is a great & tasty intro to food science! Use food-grade versions of three chemicals used in molecular gastronomy recipes to create colorful, edible spheres!
Ideal for Grades 6+
If you are what you eat, what makes up your food? Experiment and learn about the connections between chemistry & nutrition for a meaningful STEM activity.
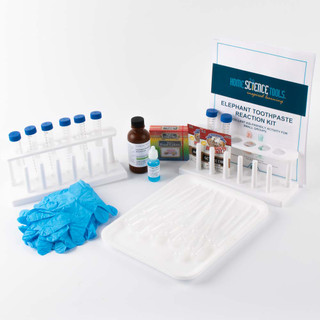
Learn how to make elephant toothpaste with the Elephant Toothpaste Reaction Kit - an incredibly fun, educational & hands-on demonstration of chemical reactions! Provide kids with a safer version of a classic experiment.
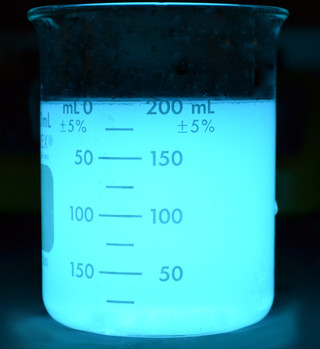
Create and watch a chemiluminescence reaction. Combine instant light powder and water in a beaker, and then watch in amazement as blue light glows!

Discover the relationship between crystalline structure and phase changes with the Super Cool science curriculum kit! Make and view crystals to discover the importance of physical changes on how we use matter.
Launch (8th-12th grade)
Lava Lamp variation
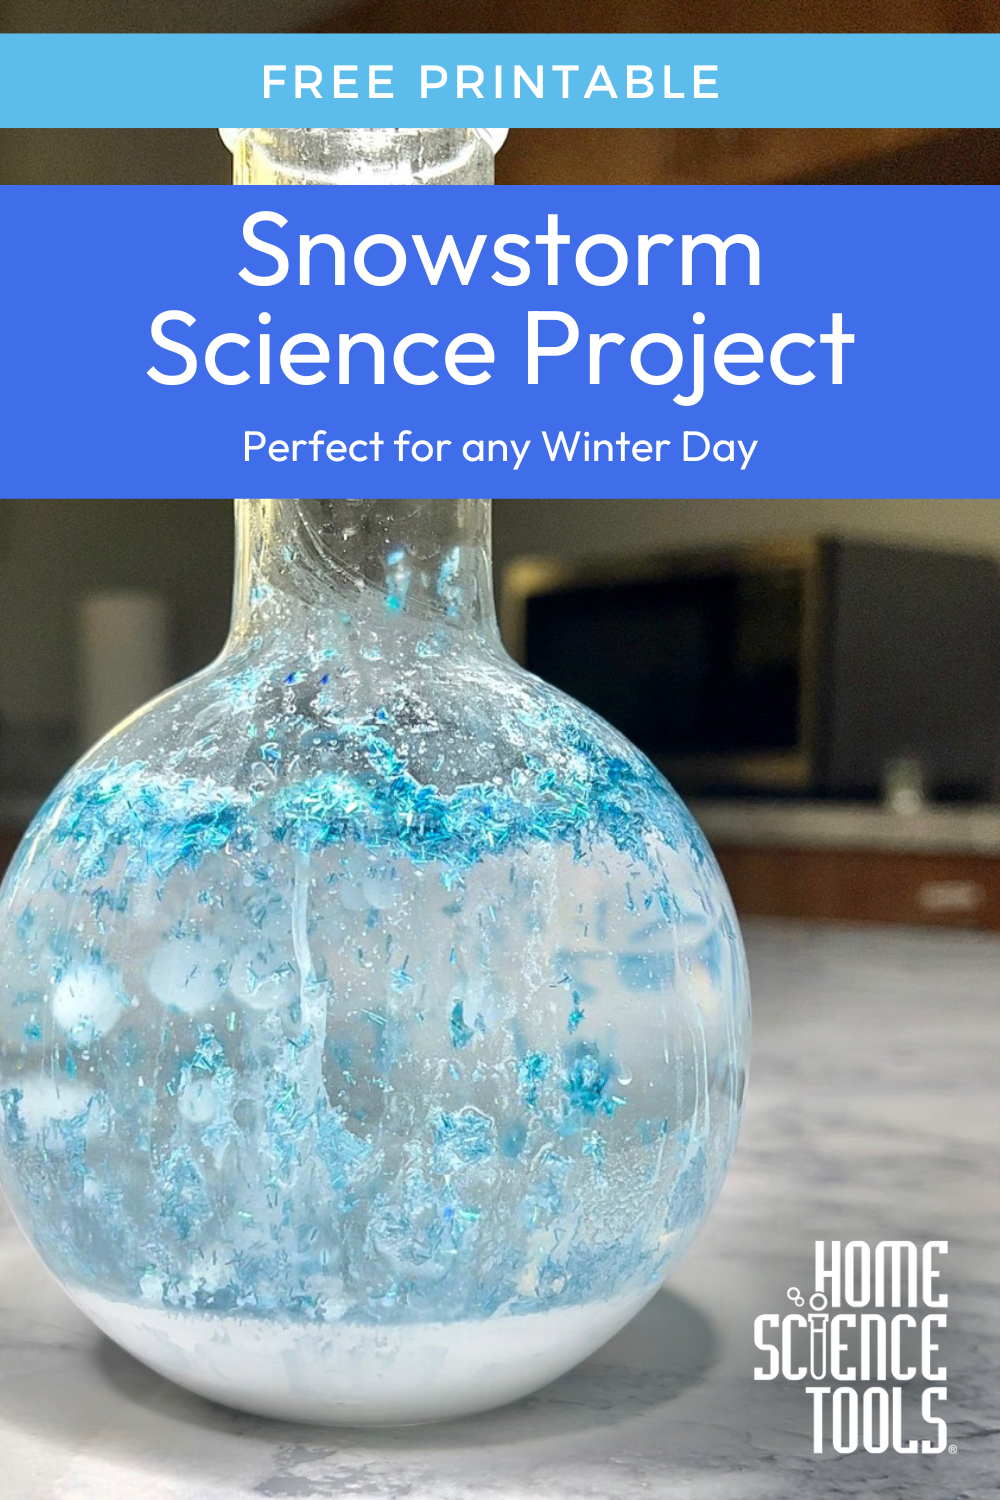
Snowstorm in a Boiling Flask
- Boiling (or Florence) Flask ; or any clear glassware
- White Paint
- Glitter (white or blue)
- Alka-seltzer
- Mix about 1tsp of white paint with about 100 ml of water
- Add a generous amount of glitter to the mixture
- Pour the white, glittered water into the boiling flask (or any clear glassware) . This should fill your glassware about 1/5th full
- Fill the rest of the glassware with baby oil. The clear baby oil is less dense than the water mixture and will stay on top
- Break an alka-seltzer tablet into a few small pieces
- Drop the alka-selzer pieces in the flask one at a time.
- Watch as the snowstorm appears!
- As the reaction slows down, simply add more alka-seltzer.
Just like in the lava lamp project our homemade snowstorm was created when we used alka-seltzer to react with the water to produce carbon dioxide gas bubbles. These stick to the water droplets. The water / gas combo is less dense than the oil, so they rise to the top of the flask. At the top, the gas bubbles pop and escape into the air, allowing the dense water to sink back to the bottom again. Refer to the science lesson from the lava lamp project above or print this free lesson.
Printable Project

Pin This Project
FREE Science eBook
4 Popular Slime Recipes
DIY Super Bubbles
Make a Bouncy Ball
We get it. Science can be messy. But Home Science Tools' products and service can handle it.
Our products are durable, reliable, and affordable to take you from the field to the lab to the kitchen. They won't let you down, no matter what they're up against. Whether it's (over)eager young scientists year after year, or rigorous requirements that come once-in-a lifetime.
And if your science inquiry doesn't go as expected, you can expect our customer service team to help. Count on friendly voices at the other end of the phone and expert advice in your inbox. They're not happy until you are.
Bottom line? We guarantee our products and service won't mess up your science study—no matter how messy it gets.
Questions? Get in touch with our Customer Service team.
Science Fun

- A clean plastic bottle, try to use one with smooth sides
- Vegetable Oil (or you could use Mineral or Baby Oil instead)
- Fizzing tablets (such as Alka Seltzer)
- Food Coloring
Watch Scientist Joe as he makes the Lava Lamp Experiment here!
Instructions:
- Fill the bottle up about 1/4th (1 quarter) with water.
- Pour the vegetable oil in the bottle until is almost full. You may want to use a measuring cup with a spout or a funnel. You may have to wait a couple of minutes for the oil and water to separate.
- Add a few drops of your favorite food coloring. Watch as the color sinks through the oil. Did your drops of color mix with the water immediately or float in between for a few minutes?
- Break your fizzy tablet in half and drop part of it into the bottle. Get ready … here come the bubbly blobs!
- You can even get a flashlight, turn off the lights and drop in another half tablet. This time shine the flashlight through the lava lamp while the blobs are bubbling!
WATCH THE QUICK AND EASY VIDEO TUTORIAL!
How it Works:
The oil floats on top of the water because it is less dense or lighter than water. The food coloring has the same density as the water so it sink through the oil and mixes with the water. When you add the tablet it sinks to the bottom then starts to dissolve. As it dissolves it makes gas, carbon dioxide. Gas or air, is lighter than water so it floats to the top. The air bubbles bring some colored water with them to the top. When the air comes out of the colored water blob, the water gets heavy again and sinks. It does this over and over again until the tablet is completely dissolved.
Extra Experiments:
What happens if you put the cap on after dropping the fizzy tablet in? What if you drop a whole tablet in? When it stops bubbling, try sprinkling some salt into your lava lamp. What happens?
EXPLORE TONS OF FUN AND EASY SCIENCE EXPERIMENTS!

SUBSCRIBE AND NEVER MISS A NEW SCIENCE FUN VIDEO!
previous experiment
Next experiment.
Get Your ALL ACCESS Shop Pass here →

How To Make A Lava Lamp

Have you ever made a DIY lava lamp? We love to explore science with common household items. A homemade lava lamp (or density experiment) is one of our favorite science experiments for kids .
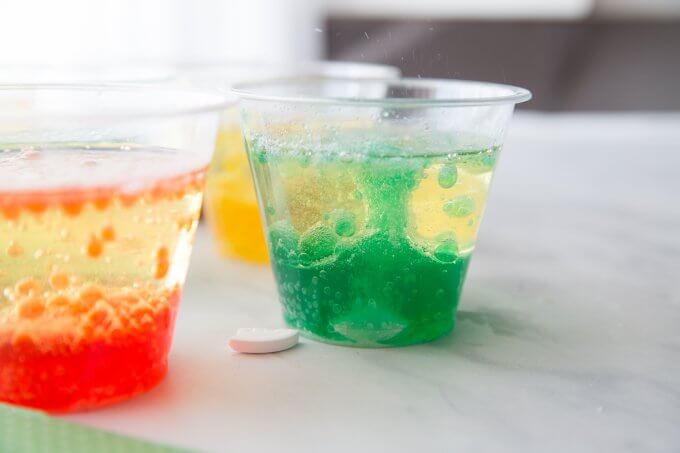
Lava Lamp Experiment
You can also experiment with salt with this lava lamp instead of using Alka Seltzer tablets!
- Valentine’s Day Lava Lamp
- Earth Day Lava Lamp
- Halloween Lava Lamp
- Water Bottles, Mason Jars, or Plastic Cups
- Food Coloring
- Baby Oil or Cooking Oil
- Alka Seltzer Tablets (generic is fine)
💡 Lava Lamp Tip: Set up this experiment on a plastic tray or dollar store cookie sheet to minimize the mess. Dollar stores also have nice little mason jar-like jars you can use too. Science in a jar is quite fun, so we picked up six of them the last time we were there!
LAVA LAMP INSTRUCTIONS:
STEP 1: Gather your ingredients! We started with one cup and then made a rainbow of lava lamps.
STEP 2: Fill your cup or jar(s) about 2/3 of the way with oil. You can experiment with more and less and see which one gives the best results. Make sure to keep track of your results. See below for more tips on experimentation and using the scientific method .
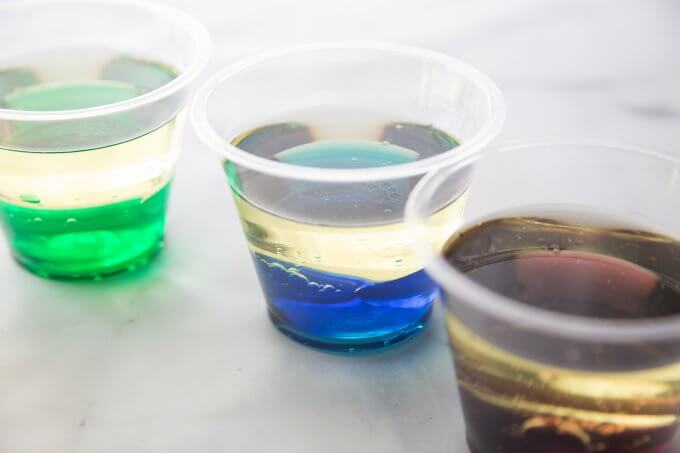
STEP 3: Next, you want to fill your jar(s) the rest of the way with water. These steps are great for helping your kids practice fine motor skills and learn about approximate measurements.
💡 Make sure to observe what happens to the oil and water in your jars as you add each ingredient.
STEP 4: Add drops of food coloring to your oil and water and watch what happens. However, you don’t want to mix the colors into the liquids. It’s ok if you do, but I love how the coming chemical reaction looks if you don’t mix them!
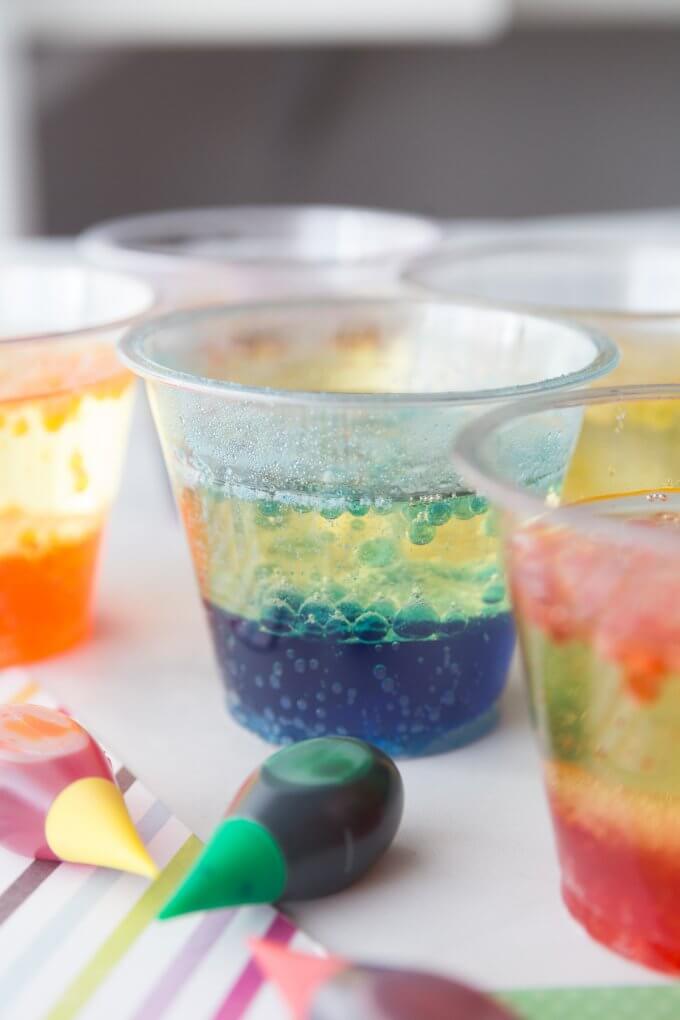
STEP 5: Now it’s time for the grand finale of this lava lamp experiment! Drop an Alka Seltzer tablet or its generic equivalent into each cup or jar. Make sure to watch closely as the magic happens!
When the lava lamp chemical reaction slows down, add another tablet. What do you think will happen? How is the colored water moving up through the oil? Ask plenty of questions to get your kids thinking!

Click here to get your FREE Science Challenges Calendar
Lava Lamp Science Information
Quite a few things are going on here with both physics and chemistry! First, remember liquid is one of three states of matter . It flows, pours, and takes the shape of the container you put it in.
However, liquids have different viscosity or thicknesses. Does the oil pour differently than the water? What do you notice about the food coloring drops you added to the oil/water? Think about the viscosity of other liquids you use.
Why don’t all liquids mix? Did you notice the oil and water separated? That’s because water is heavier than oil.
💡 Making a density tower is another great way to observe how not all liquids share the same density.
Liquids are made up of different numbers of atoms and molecules. In some liquids, these atoms and molecules are packed together more tightly, resulting in a denser liquid. Learn more about density here.
Now for the chemical reaction ! When the two substances combine (Alka seltzer tablet and water), they create carbon dioxide, all the bubbling you see. These bubbles carry the colored water to the top of the oil, where they pop, and the water then falls back down.
How To Set Up A Lava Lamp Science Fair Project
Want to turn this lava lamp into a cool lava lamp science project? Check out these helpful resources below.
💡 By changing the water’s temperature, you can observe and measure how it affects the behavior of the bubbles of carbon dioxide.
Sample Hypothesis: “If the temperature of the water used in a homemade lava lamp increases, then the movement of the colored gas bubbles will become faster and more vigorous because heat affects the density and buoyancy of the liquids involved.”
- Independent Variable: The temperature of the water used in the lava lamp.
- Dependent Variable: The speed and movement pattern of the colored gas bubbles in the lava lamp.
- Controlled Variables are…
Also check out…
- Easy Science Fair Projects
- Science Project Tips From A Teacher
- Science Fair Board Ideas
More Fun Science Experiments to Try
- Skittles Experiment
- Baking Soda and Vinegar Volcano
- Growing Borax Crystals
- Elephant Toothpaste
- Magic Milk Experiment
- Egg In Vinegar Experiment
- Hot and Cold Water Density Experiment
Printable Science Projects Pack
If you’re looking to grab all of our printable science projects in one convenient place plus exclusive worksheets and bonuses like a STEAM Project pack, our Science Project Pack is what you need! Over 300+ Pages!
- 90+ classic science activities with journal pages, supply lists, set up and process, and science information. NEW! Activity-specific observation pages!
- Best science practices posters and our original science method process folders for extra alternatives!
- Be a Collector activities pack introduces kids to the world of making collections through the eyes of a scientist. What will they collect first?
- Know the Words Science vocabulary pack includes flashcards, crosswords, and word searches that illuminate keywords in the experiments!
- My science journal writing prompts explore what it means to be a scientist!!
- Bonus STEAM Project Pack: Art meets science with doable projects!
- Bonus Quick Grab Packs for Biology, Earth Science, Chemistry, and Physics
- Science Fair Project Pack with experiments to try!
14 Comments
Amazing. I’m a counselor for children and adolescents of all different functional levels and I love incorporating art into therapy. Thank you for this idea. It is so cool!
Your welcome! So glad that this can be useful to you. My son loves anything that will erupt too!
Baby oil works the best for this experiment. It is clear, so it allows for the food coloring to really stand out.
Baby oil is great for this experiment but regular oil works well too in case you don’t have any on hand.
- Pingback: Liquid Density Tower Physics Activity and Experiment for Kids
- Pingback: Marshmallow Edible Slime Recipe or Putty Idea for Kids
Thank you for the idea , I might use it for an extra credit project
- Pingback: Simple and Educational STEM Projects for Toddlers
This science experiment, this is what I’m going to to do for a science fair project!!!
- Pingback: Science Activities For Kids « Craft Supplies
- Pingback: Walking Water Science Experiment for Kids STEM and Rainbow Science
- Pingback: Peeps Slime Candy Science for Easter Science and Sensory play
How can I download instructions for the experiments? I’d rather have a print out to check with during experiments than my phone.
Check out my classic science pack in the SHOP! https://little-bins-for-little-hands.myshopify.com/products/classic-science-pack
Comments are closed.

Subscribe to receive a free 5-Day STEM Challenge Guide
~ projects to try now ~.

- Skip to primary navigation
- Skip to main content
- Skip to primary sidebar

- FREE Experiments
- Kitchen Science
- Climate Change
- Egg Experiments
- Fairy Tale Science
- Edible Science
- Human Health
- Inspirational Women
- Forces and Motion
- Science Fair Projects
- STEM Challenges
- Science Sparks Books
- Contact Science Sparks
- Science Resources for Home and School
How to make a lava lamp
January 1, 2023 By Emma Vanstone 4 Comments
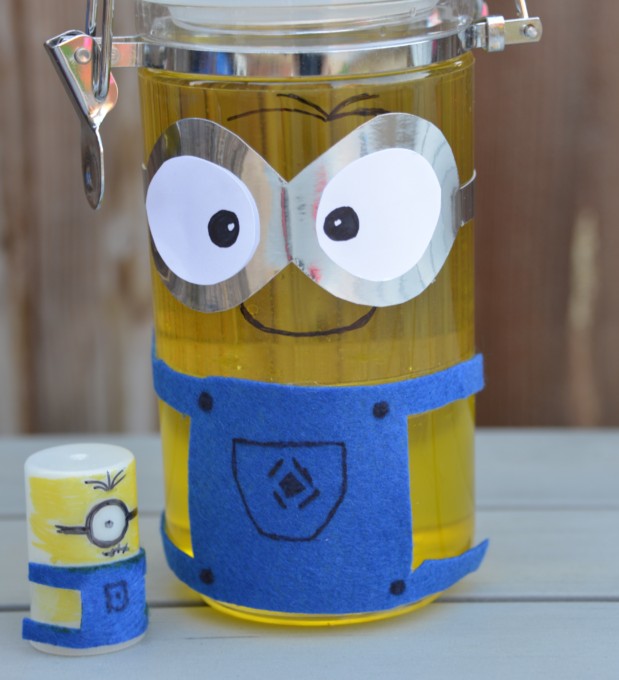
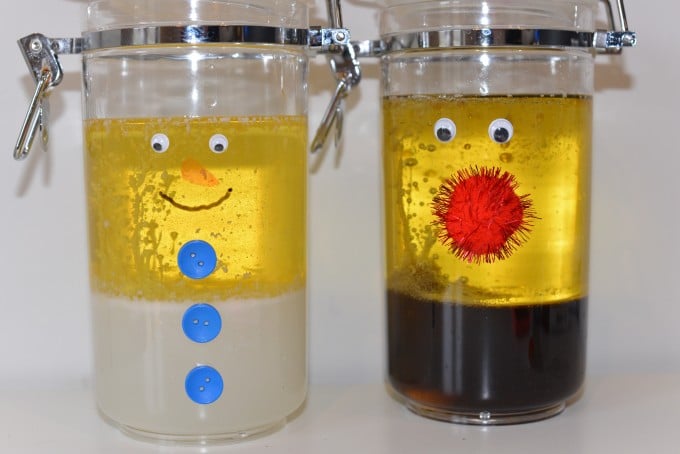
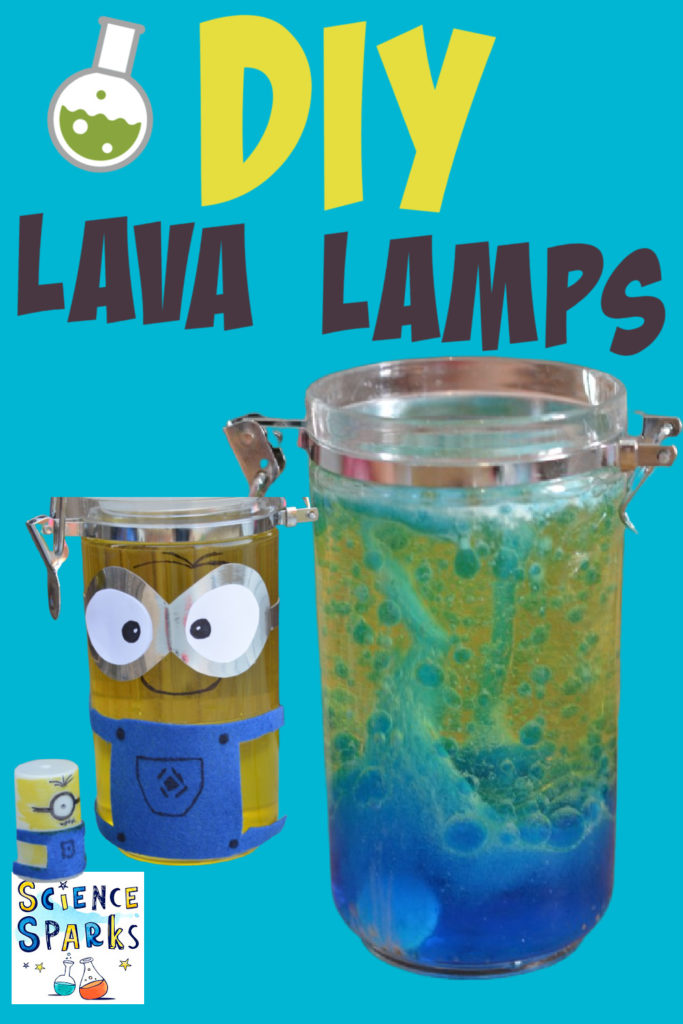
Do you know how to make a lava lamp ? DIY lava lamps are one of our favourite science experiments as they are super simple to make, can be used over and over again, and you can be as creative as you like with them. We’ve made Minions, reindeer and even snowmen lava lamps!
Lava lamp s are also a safe, exciting and visual way to introduce chemical reactions and the often tricky concept of density to children ( the oil floats beautifully on top of the water ).
What you need to make a lava lamp
- A clear plastic or glass bottle or jar
- A bottle of vegetable oil
- Alka Seltzer
- Food colouring (a bright colour is best!)
DIY Lava Lamp Instructions
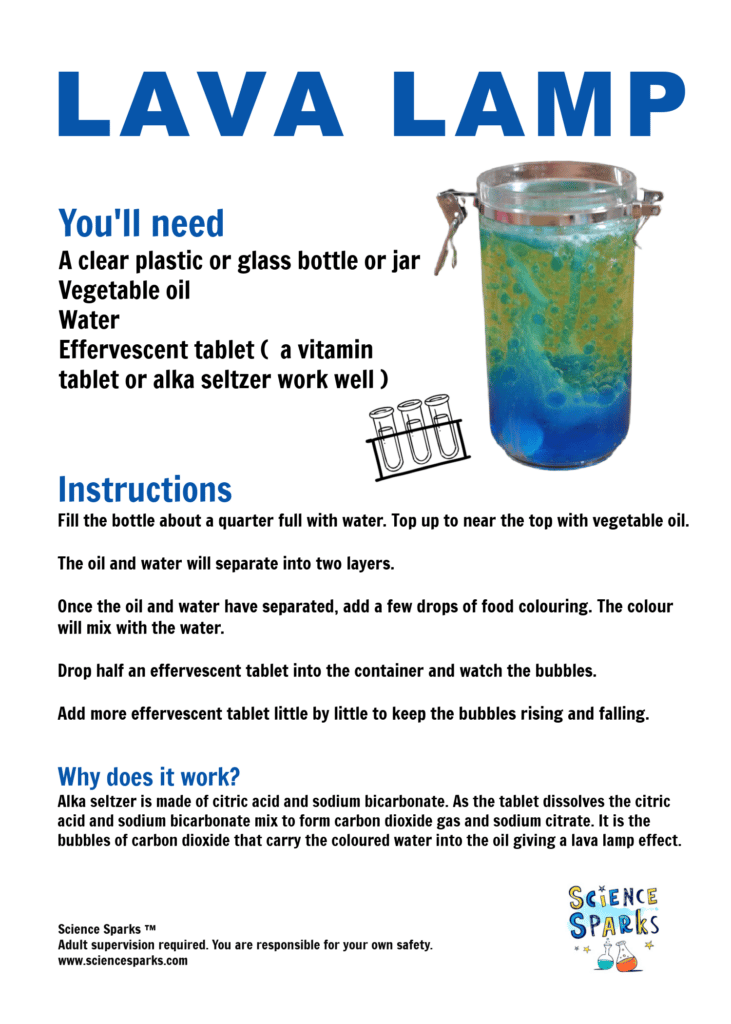
Fill the bottle about a quarter full with water. Top up with vegetable oil to the (near) top.
The oil and water should separate into two layers, water at the bottom and oil on the top.
Once the oil and water have separated, add enough food colouring to achieve the colour you want. The colour will mix with the water at the bottom.
Pop in half an Alka Seltzer tablet and watch the bubbles form. Add more Alka Seltzer little by little to keep the bubbles rising and falling.
Top Tips for making a DIY lava lamp
Try using effervescent vitamin tablets instead of Alka Seltzer; these are usually a bit cheaper and have the same effect, although they might colour the water slightly.

More science experiments to try
What happens if you use half a tablet? Or two?
Once the reaction has finished, try gently tipping the bottle on its side. What do you notice?
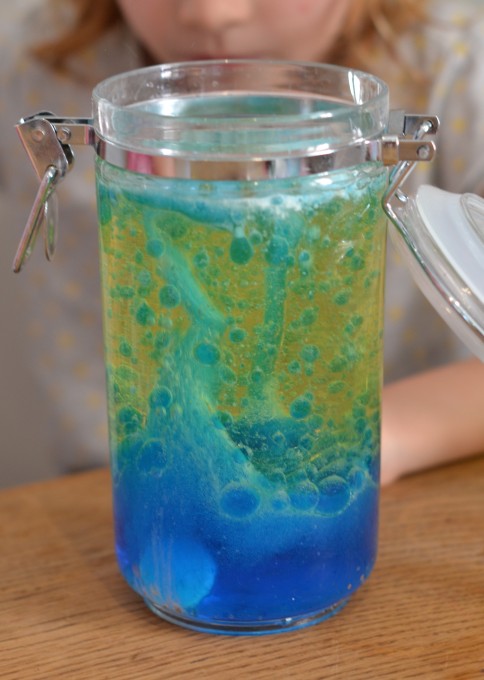
Why do homemade lava lamps work?
Alka seltzer is made of citric acid and sodium bicarbonate, which react with the water to form carbon dioxide gas and sodium citrate. It is the bubbles of carbon dioxide that carry the coloured water into the oil, giving a lava lamp effect.
NOTE – Please supervise the use of Alka Seltzer and effervescent vitamin tablets.
Why do oil and water separate?
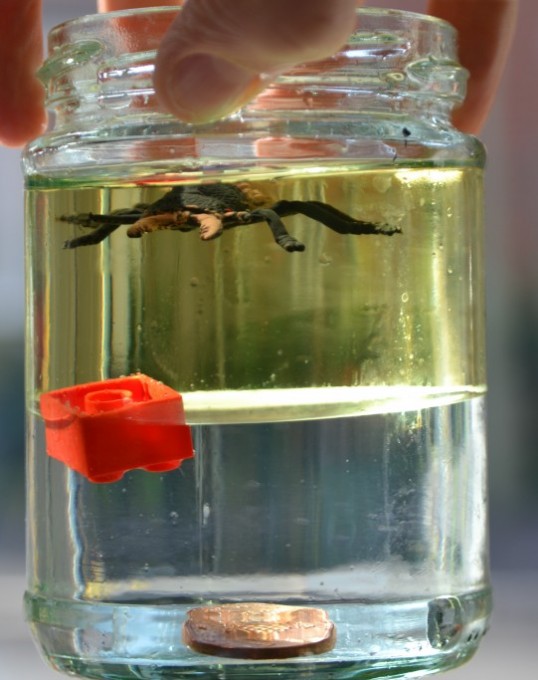
Water and oil do not mix. This is because water is a polar molecule – its structure means it has a positive charge at one end and a negative charge at the other. Water molecules stick together because the positive end of one water molecule is attracted to the negative end of another. Oil molecule structure is different – it is non-polar, meaning that its charge is more evenly spread out, so the oil is not attracted to water. We call it hydrophobic (water-fearing), as it tries to get as far away from water as possible and does not mix. Oil rests on top of the water rather than underneath because it has a different density to water.
More DIY lava lamp ideas
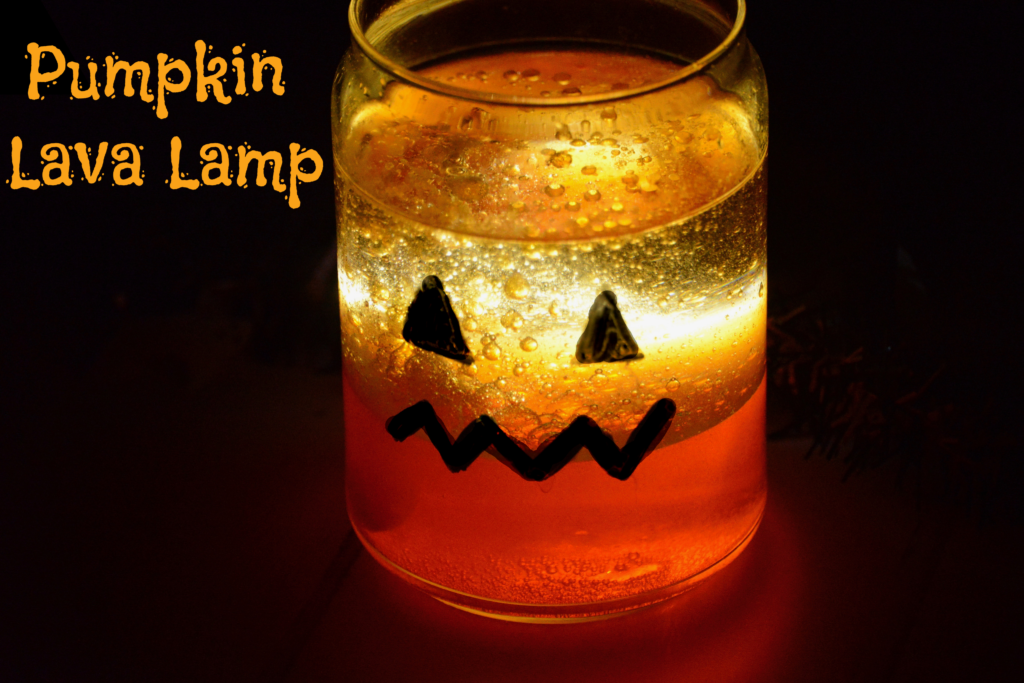
How about a pumpkin themed lava lamp for Halloween? These make a great last-minute pumpkin or a fun alternative if you don’t fancy carving one this year.
We had a lot of fun making our Minion version of a lava lamp . If I did this again, I’d use blue water at the bottom, as you couldn’t see the yellow very well in the oil.
Or how about a Christmas Lava Lamp ? Our reindeer and snowman were super cute and a big hit with the kids last year.
If you enjoyed this activity, you’ll love our other experiments for kids. We have hundreds of science-based investigations and activities, with something for all interests and ages.
The Royal Institution has an excellent lava lamp and other fab experiments, too!
Last Updated on May 2, 2024 by Emma Vanstone
Safety Notice
Science Sparks ( Wild Sparks Enterprises Ltd ) are not liable for the actions of activity of any person who uses the information in this resource or in any of the suggested further resources. Science Sparks assume no liability with regard to injuries or damage to property that may occur as a result of using the information and carrying out the practical activities contained in this resource or in any of the suggested further resources.
These activities are designed to be carried out by children working with a parent, guardian or other appropriate adult. The adult involved is fully responsible for ensuring that the activities are carried out safely.
Reader Interactions
July 07, 2015 at 12:36 am
This is awesome!!!
July 29, 2015 at 5:56 am
ooh that looks GREAT fun
March 25, 2020 at 3:23 pm
This was so much fun ! If you haven’t try it!
September 13, 2020 at 5:25 pm
Looks so cool. For how long will it “work”?
Leave a Reply Cancel reply
Your email address will not be published. Required fields are marked *
- Skip to primary navigation
- Skip to main content
- Skip to primary sidebar
Parent Vault: Educational Resources, Lesson Plans & Virtual Classes
Worksheets, Daily Lessons & Resources for Parents, Students & Teachers
How to Make a Lava Lamp (5 DIY Options, Even Without Alka Seltzer!)
June 22, 2020 By Parent Vault 2 Comments

How to Make a Lava Lamp
Homemade science experiments for kids are a huge hit in our house, as you could probably already tell after our chemistry for kids lesson plan ! In fact, Hannah (my oldest daughter) just started her own YouTube channel to teach kids how to do science experiments, cook yummy things and make awesome arts and crafts projects! Her channel is called Inspired Sparks , and you DEFINITELY want to follow her here , so that you don’t miss any of her amazing videos for kids! Two of today’s DIY lava lamps (without Alka Seltzer) demonstrations are actually on her channel as well! Trust me, your kids need to learn how to make a lava lamp and the science behind why it works. It is SO cool!
Science Experiment Virtual Camp
We are doing an entire science experiment virtual camp, using ingredients and stuff that you most likely already have around your house. Make sure that you join our Facebook Group and follow us on Pinterest , so you that you won’t miss the additional activities!

DIY Lava Lamp Experiment
Kids LOVE learning how to make lava lamps , because it is completely mesmerizing to watch the liquid bubble up and down. In fact, as long as the bubbles keep going, my kids will happily sit there and watch it without batting an eye! The classic way to make a homemade lava lamp is to use Alka Seltzer. If you are going to buy some, I would highly recommend buying the generic brand Alka Seltzer , because it is more cost effective and works just as well!
1. How to make a lava lamp without Alka Seltzer
I could have sworn that we had Alka Seltzer in our science experiment supply cabinet, because it is used in tons of homemade science experiments. However, all we could find was an empty box. Perfect lesson to teach kids to throw out empty boxes, because otherwise they don’t get replaced! Luckily, there are two different ways to make lava lamps without Alka Seltzer, so the experiment could go on!
Materials (without Alka Seltzer)
Here is a list of everything you will need to make a homemade lava lamp without Alka Seltzer.
- Vegetable Oil or Baby Oil
- Baking Soda
- White Vinegar
- Liquid Food Coloring
- Glass Mason Jar
How to make liquid food coloring with gel food coloring
If you only have gel food coloring at home, do not worry! Gel food coloring is simply more concentrated and a thicker consistency. Just add a tiny bit of your gel food coloring to a few drops of water, and you will get the right consistency to use in place of liquid food coloring!
Directions (without Alka Seltzer)
The absolute BEST way to learn how to make this type of homemade lava lamp is to watch my daughter’s video below. It would mean the absolute world to her if you liked her video here , and follow her Inspired Sparks YouTube channel here !
How does this DIY lava lamp work?
As Hannah explained in the video above, vinegar and baking soda are both more dense than oil, and oil does not mix well with either substance. So when you add oil on top of the baking soda, the oil stays on the top. When you add drops of colored vinegar, it sinks to the bottom (since vinegar is more dense and won’t mix with oil). As soon as the vinegar touches the bottom though, it mixes with the baking soda, which creates a chemical reaction that produces carbon dioxide gas! The gas then creates a bubble that floats to the top, until it reaches the surface and pops!
2. How to make a salt lava lamp
As seen in the Inspired Spark’s video above, you can also make a lava lamp out of water, vegetable oil , liquid food coloring and table salt . Simply dye your water and place it in a clear jar. Add a thin layer of oil to the top of the water, and pour in your salt. As you pour in clumps of salt, you will begin to see a lava lamp effect.
Salt Lava Lamp Pros & Cons
The only disadvantage of this technique is that it is less dramatic. However, when you think about “the original” lava lamps, they had a very slow motion. So in some ways, the salt lava lamp is more authentic! Another plus of making this homemade lava lamp is that you do not need to use a lot of oil (like you do in the other experiments). In our experience though, this is the least “exciting” of the five DIY lava lamps for kids.
3. DIY Lava Lamp (with Alka Seltzer)
Let’s first explain the basic experiment of how to make a DIY lava lamp using Alka Seltzer .
Materials (with Alka Seltzer)
All you need are the following materials to make your basic DIY lava lamp with Alka Seltzer.
- Alka Seltzer
Directions (with Alka Seltzer)
- Add water to your jar until it is around 1/4 full.
- Pour vegetable oil or baby oil to your jar until it is about an inch or two away from the top.
- Add a couple of drops of liquid food coloring and watch it go through the layer of oil and start to mix with the water below.
- Once the water becomes a pretty color, add in a quarter of an Alka Seltzer tablet. If you have the powdered variety of Alka Seltzer , just use one teaspoon.
- Shortly, your project will come to life!
- After the action slows down or stops, you can keep it going by adding more Alka Seltzer !
- You can even place a lid on the oil and colored water so that you can do this experiment over and over again. However, if you do this, make sure NOT to put the lid on until the chemical reaction has finished completely. Otherwise, you could build-up pressure in the jar and cause an explosion (with a huge mess!)
How to make Alka Seltzer
Did you know that you can actually make your own powdered version of Alka Seltzer for this type of homemade science experiment? You simply mix together two parts baking soda to one part citric acid . For example, you could mix together two teaspoons of baking soda with one teaspoon of citric acid.

4. DIY glow in the dark lava lamp
Want to REALLY impress your kids? Instead of using liquid food coloring in your DIY lava lamp, use photoluminescent pigment ! Not only will this create gorgeous colors, but when you turn the lights out, your lamp will glow in the dark!
5. DIY glitter lava lamp
Everything is better with glitter! Add your glitter right before adding whatever ingredient creates a chemical reaction. In the homemade lava lamp with Alka Seltzer, for example, you should add your glitter right before (or even at the same time as) you add your Alka Seltzer.
Which homemade lava lamp will you make?
Don’t forget to join our Facebook Group and follow us on Pinterest , so you that you won’t miss any of our homemade science experiments! Also, let us know which one you make and how it turns out by dropping a comment below. We would LOVE to see photos and videos of your lava lamps too! Please post your photos and videos in our Facebook Group to inspire others!

Reader Interactions
Leave a reply cancel reply.
Your email address will not be published. Required fields are marked *
Save my name, email, and website in this browser for the next time I comment.

IMAGES
VIDEO
COMMENTS
A lava lamp works because of two different scientific principles: density, and polarity. Concept 1: Density. Density is the measurement of how compact a substance is - how much of it fits in a certain amount of space. (The scientific equation is density = mass/volume.). If you measure an equal volume of oil and water, you'll find that the water is heavier than the same amount of oil.
Pour 1 cup of oil and 1/4 cup of of vinegar in your container. Drop the food colouring in. Mix 1 teaspoon of baking soda with 1 teaspoon of water and slowly pour it into the container. You can also make a lava lamp with salt. Fill your container 3/4 full of water, top it up with oil, and then scoop in tablespoons of salt at a time and watch the ...
Instructions: Fill the bottle up about 1/4th (1 quarter) with water. Pour the vegetable oil in the bottle until is almost full. You may want to use a measuring cup with a spout or a funnel. You may have to wait a couple of minutes for the oil and water to separate. Add a few drops of your favorite food coloring.
Just 5 ingredients needed and a few quick steps to make your very own homemade lava lamp with the power of SCIENCE! #sciencecenter #stlsciencecenter #diycraf...
Instructions. To each jar or bottle, fill it with 1-2 inches of water, add 5 drops of food coloring, and then fill it at least three-quarters full with vegetable oil. Put the cap on tightly to avoid spills and leaks. Image Credit: Teisha Rowland, Science Buddies / Science Buddies.
STEP 1: Gather your ingredients! We started with one cup and then made a rainbow of lava lamps. STEP 2: Fill your cup or jar (s) about 2/3 of the way with oil. You can experiment with more and less and see which one gives the best results. Make sure to keep track of your results.
Fill the bottle about a quarter full with water. Top up with vegetable oil to the (near) top. The oil and water should separate into two layers, water at the bottom and oil on the top. Once the oil and water have separated, add enough food colouring to achieve the colour you want. The colour will mix with the water at the bottom.
Welcome to our fun and educational DIY lava lamp science experiment!In this video, we'll be showing you how to make your very own lava lamp right at home.Usi...
How to Make a Lava Lamp. Homemade science experiments for kids are a huge hit in our house, as you could probably already tell after our chemistry for kids lesson plan!In fact, Hannah (my oldest daughter) just started her own YouTube channel to teach kids how to do science experiments, cook yummy things and make awesome arts and crafts projects!
Join Calie, a former public school educator and camp counselor, for a fun and educational homemade lava lamp project. Perfect for kids ages 4-12, this simple experiment teaches about density using common household items. A delightful blend of learning and play!